
Have you seen the new release from The Rabbit Hole Designs yet? There are two great new stamp sets, and a beautiful stencil. You’re going to want them all! Today, I’m sharing two very different cards, but they both feature the new Corner Mandala Stencil.

CARD #1
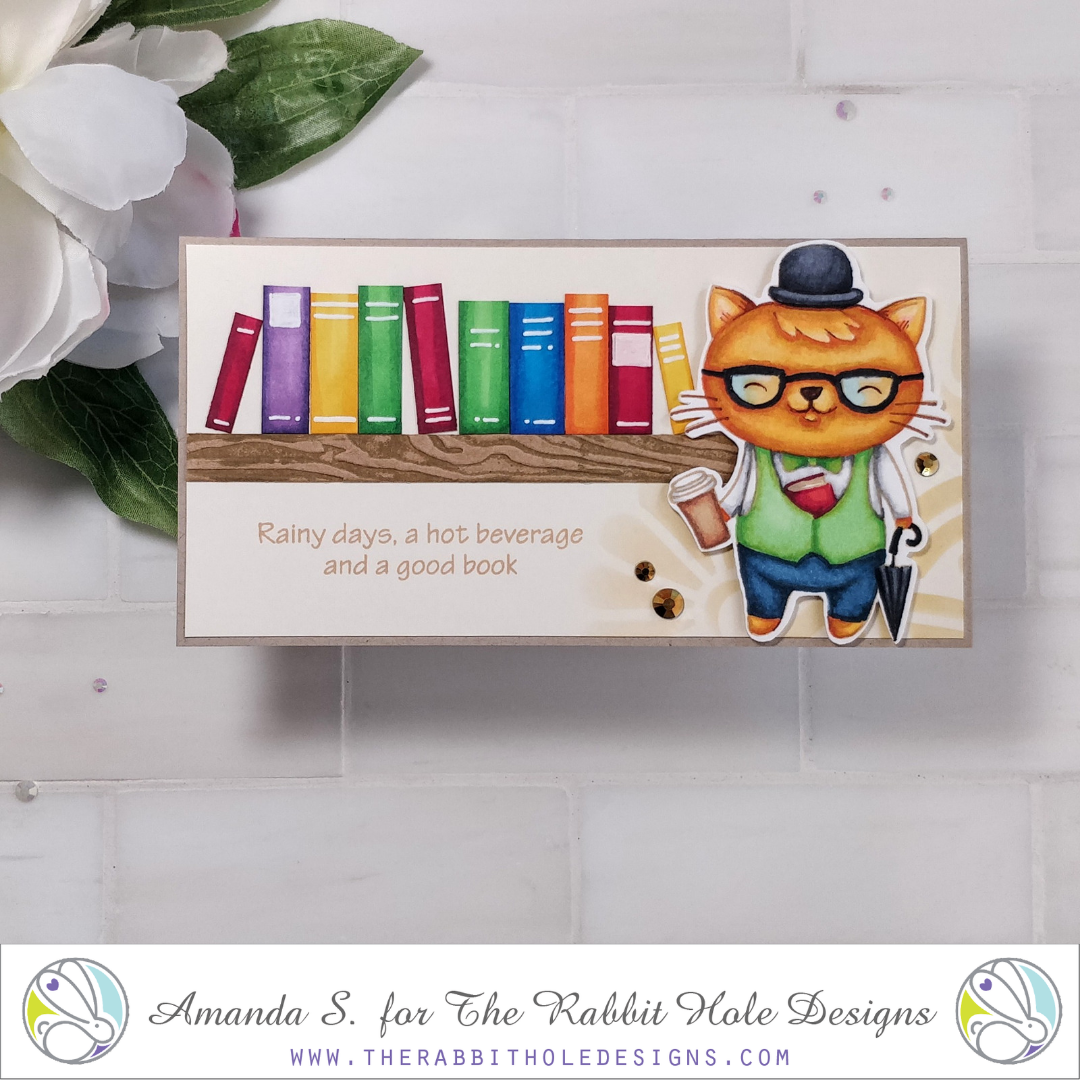
First, let’s start with this fun Simple Things mini slimline card. I stamped the dapper little cat in Warm Glow ink and colored him with Copic markers for a no-line coloring look. It turns out outlining small, dark objects like glasses, can get tricky with markers. I realized later that I could have outlined them with a thin Copic Multiliner first. (Oh well, next time, right?) After cutting him out with my ScanNCut, I added Diamond Glaze to the top of his glasses. Isn’t he just the cutest?!
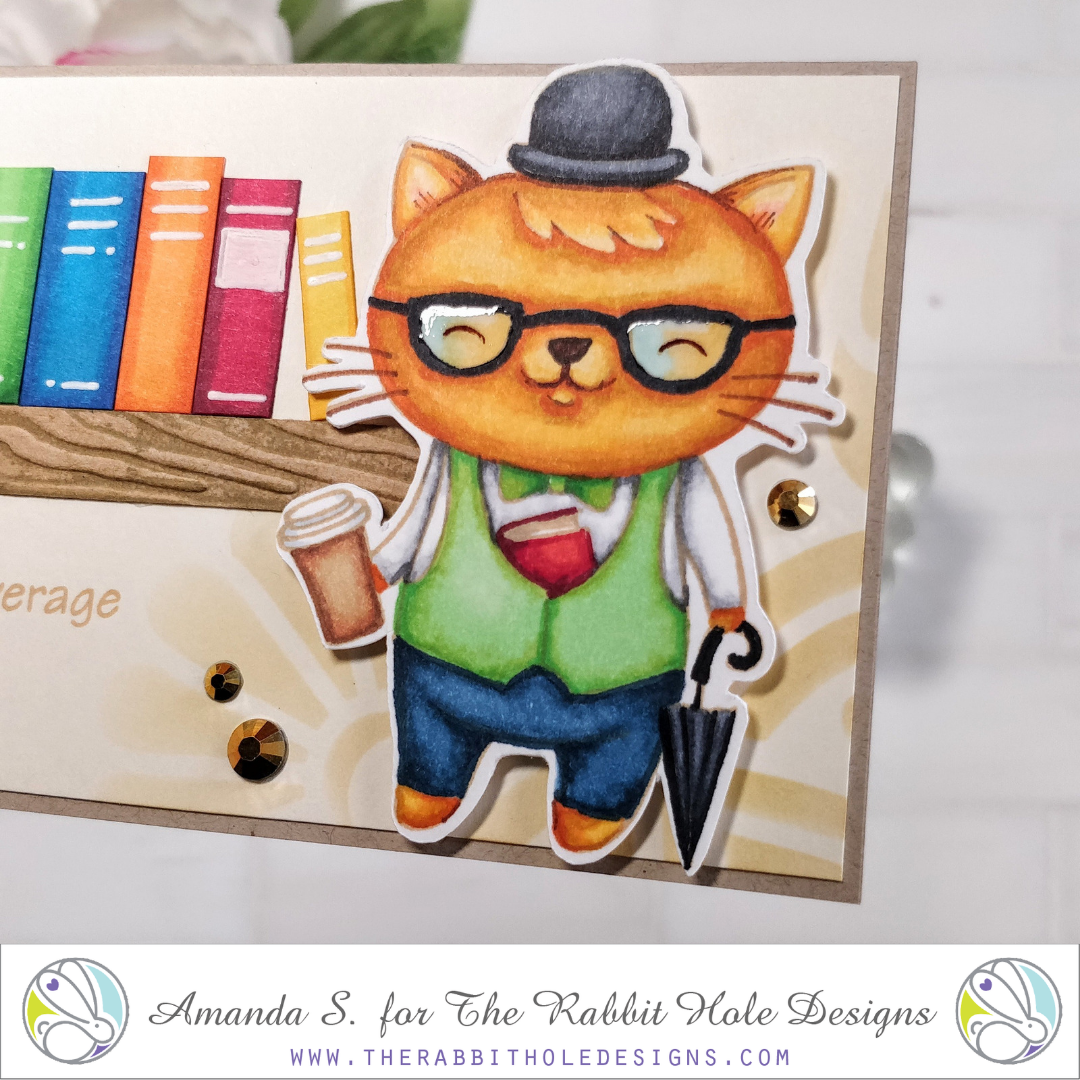
To create the book shelf behind him, I was inspired by a card I’d seen Kristina Werner create a long time ago. She made her own books with strips of colored cardstock and a white gel pen. For my books, I decided to color strips of white cardstock with my Copic markers. This way, they had shading and coordinated with the cat better. Varying the height, width, and adding gel pen details makes them look like real books. For the shelf, I swiped the inside of a woodgrain embossing folder with brown ink, before sandwiching a strip of kraft cardstock inside and running it through my die cutting machine. This gave me a nice textured shelf to glue the books on top of.
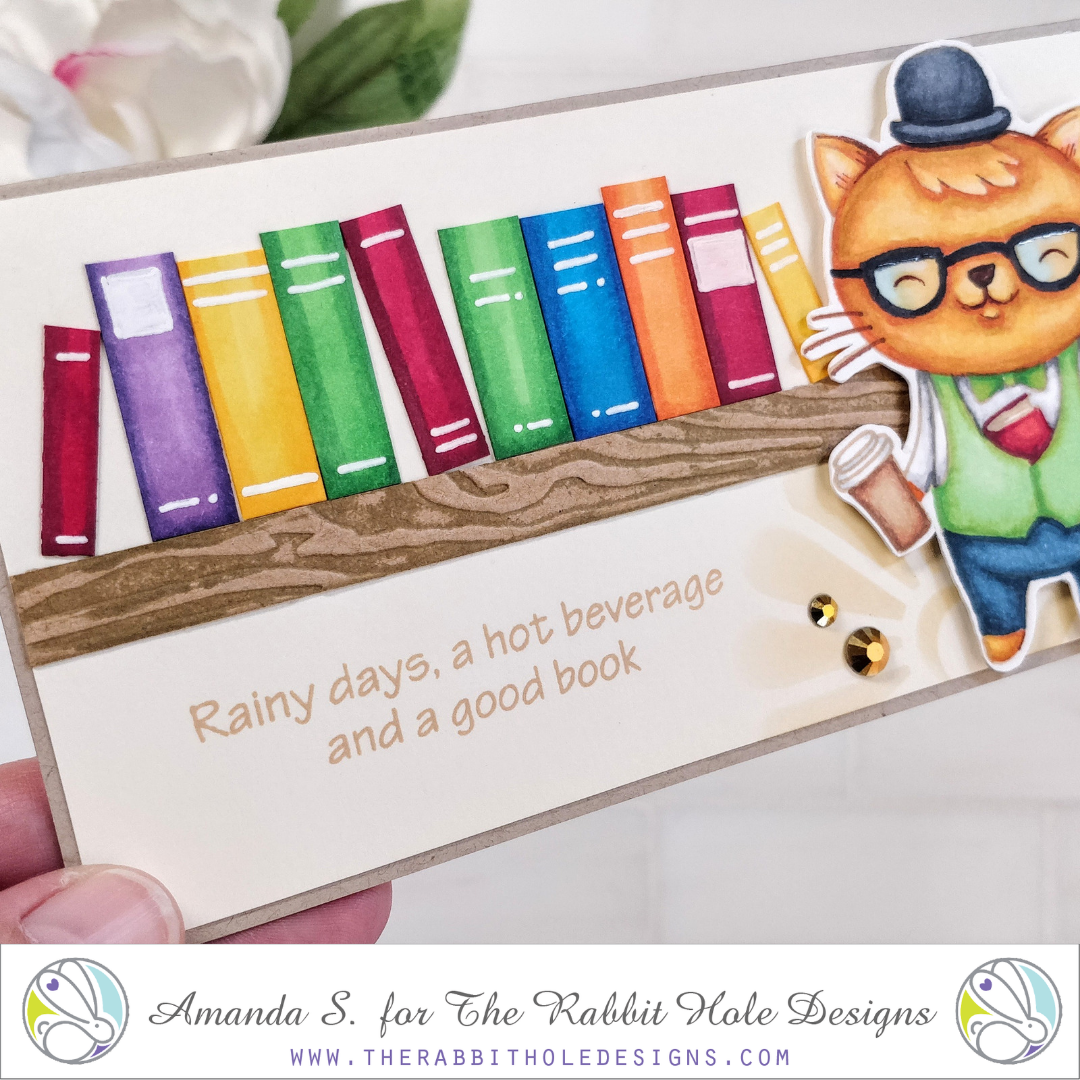
Notice the soft stenciled background behind the kitty? I inked Warm Glow through the new Corner Mandala stencil on a cream panel. Assembly was as easy as gluing everything down and stamping the sentiment. The cat is popped up with foam tape, the mini-slimline card base was cut from more kraft cardstock, and gold gems add a bit of sparkle. I just adore this card, even with his wonky glasses.
CARD #2
Now let’s try a fun new technique! For my second card, I thought it might be cool to create a stenciled galaxy background. The idea is to add the bulk of your splattered stars through a stencil. For this technique, I suggest using a stencil with large openings, not fine details. The new Corner Mandala stencil is perfect!
In the pictures below, you can see the progression. I started by blending several shades of ink onto a white panel with large brushes. Then, I loosely blended black ink on top, leaving some of the colors exposed. (Feel free to substitute your favorite galaxy techniques to get you to the point of adding stars. You can even use black or navy paper instead.) When you’re ready to add stars, affix the stencil to your background, then heavily splatter Copic White, and shimmer mist spray on top. Remove the stencil, and add a fine, light splatter of white over the whole thing. This will turn your panel into a galaxy, with the heaviest concentration of stars in the stenciled area. The shimmer mist will allow the stencil pattern to really pop as it catches the light.
[one_half]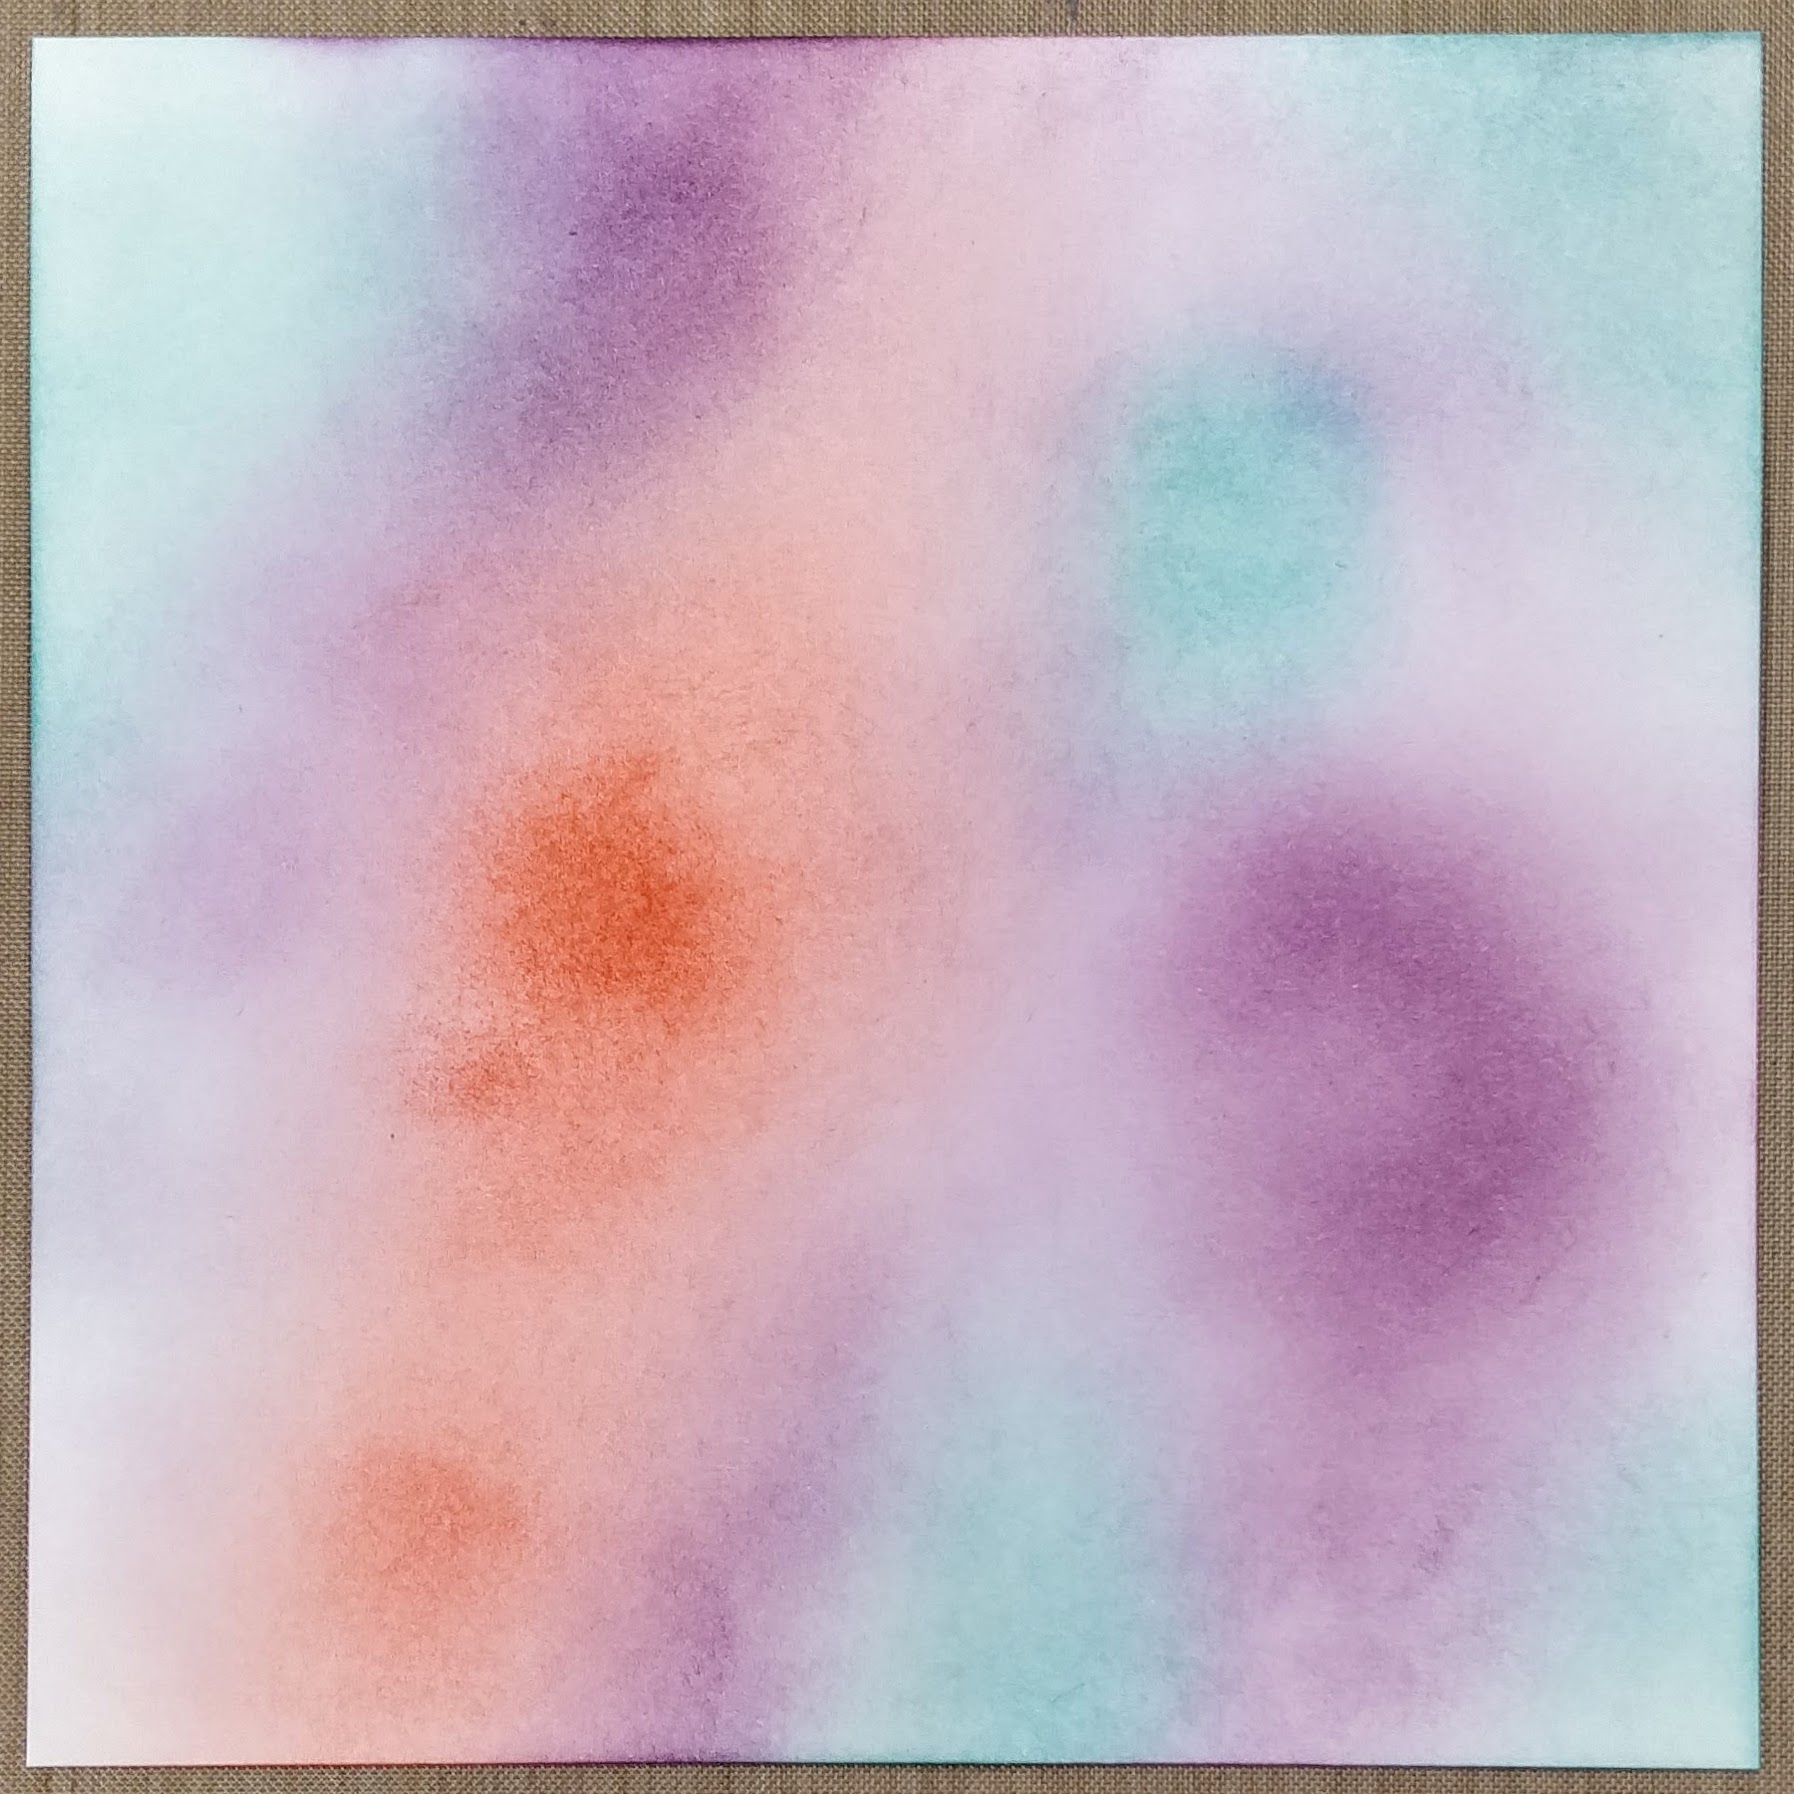 [/one_half]
[one_half last]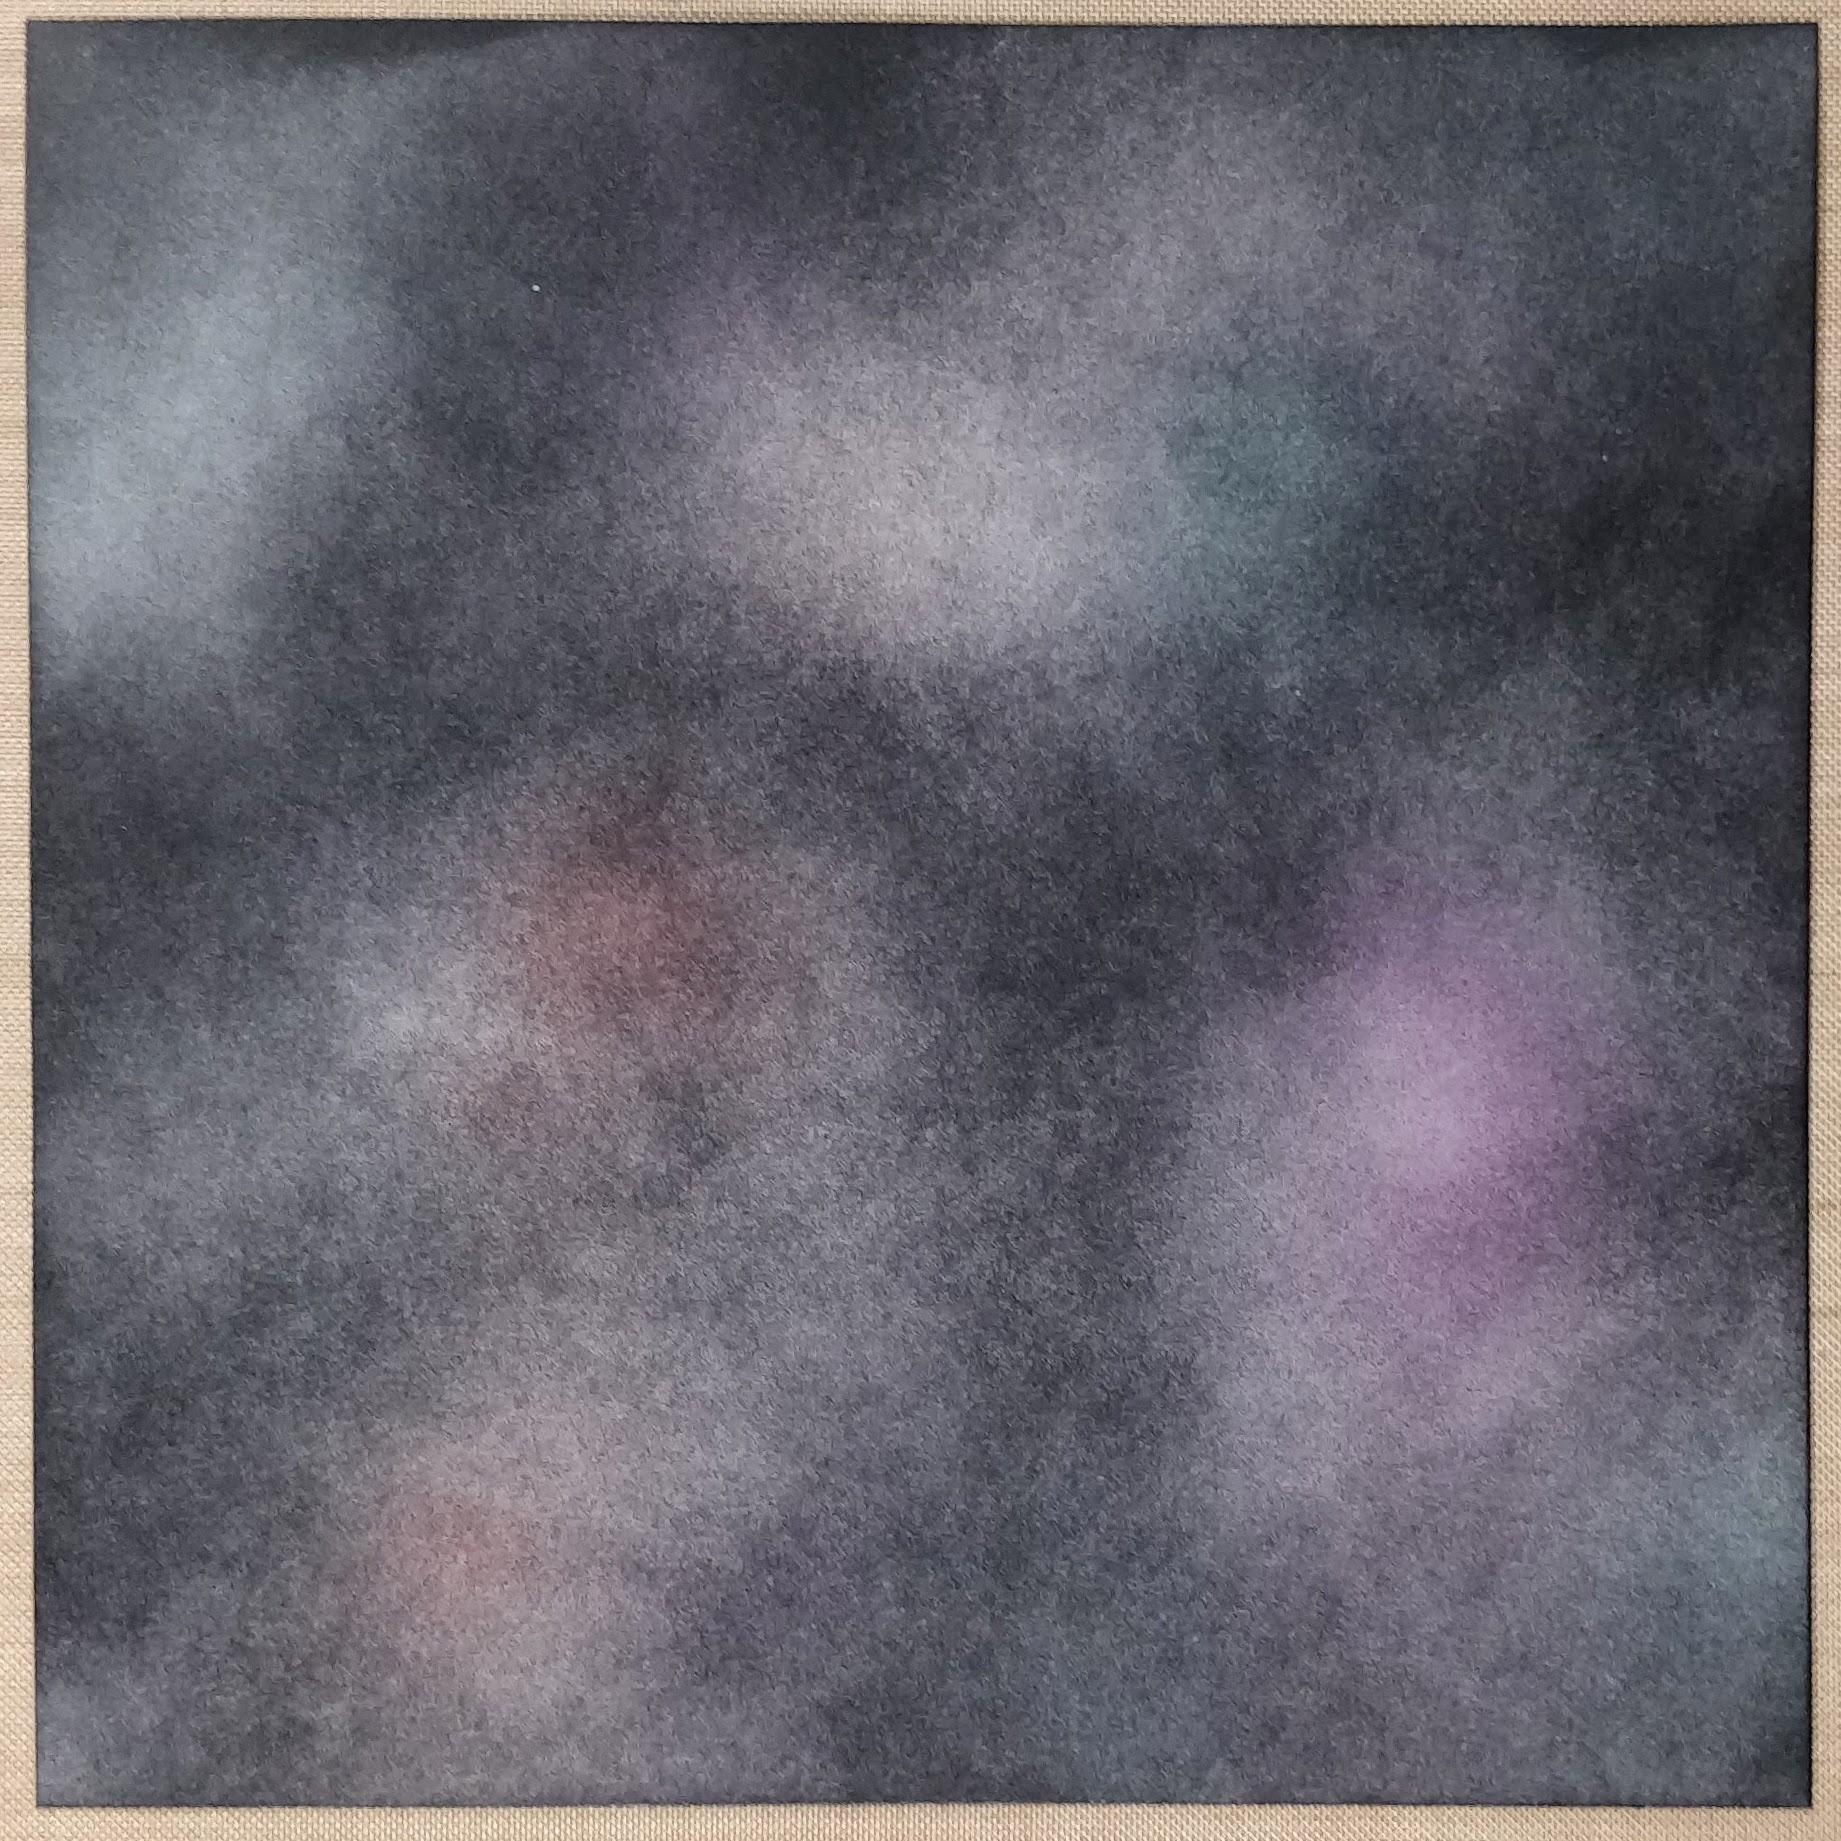 [/one_half]
[one_half]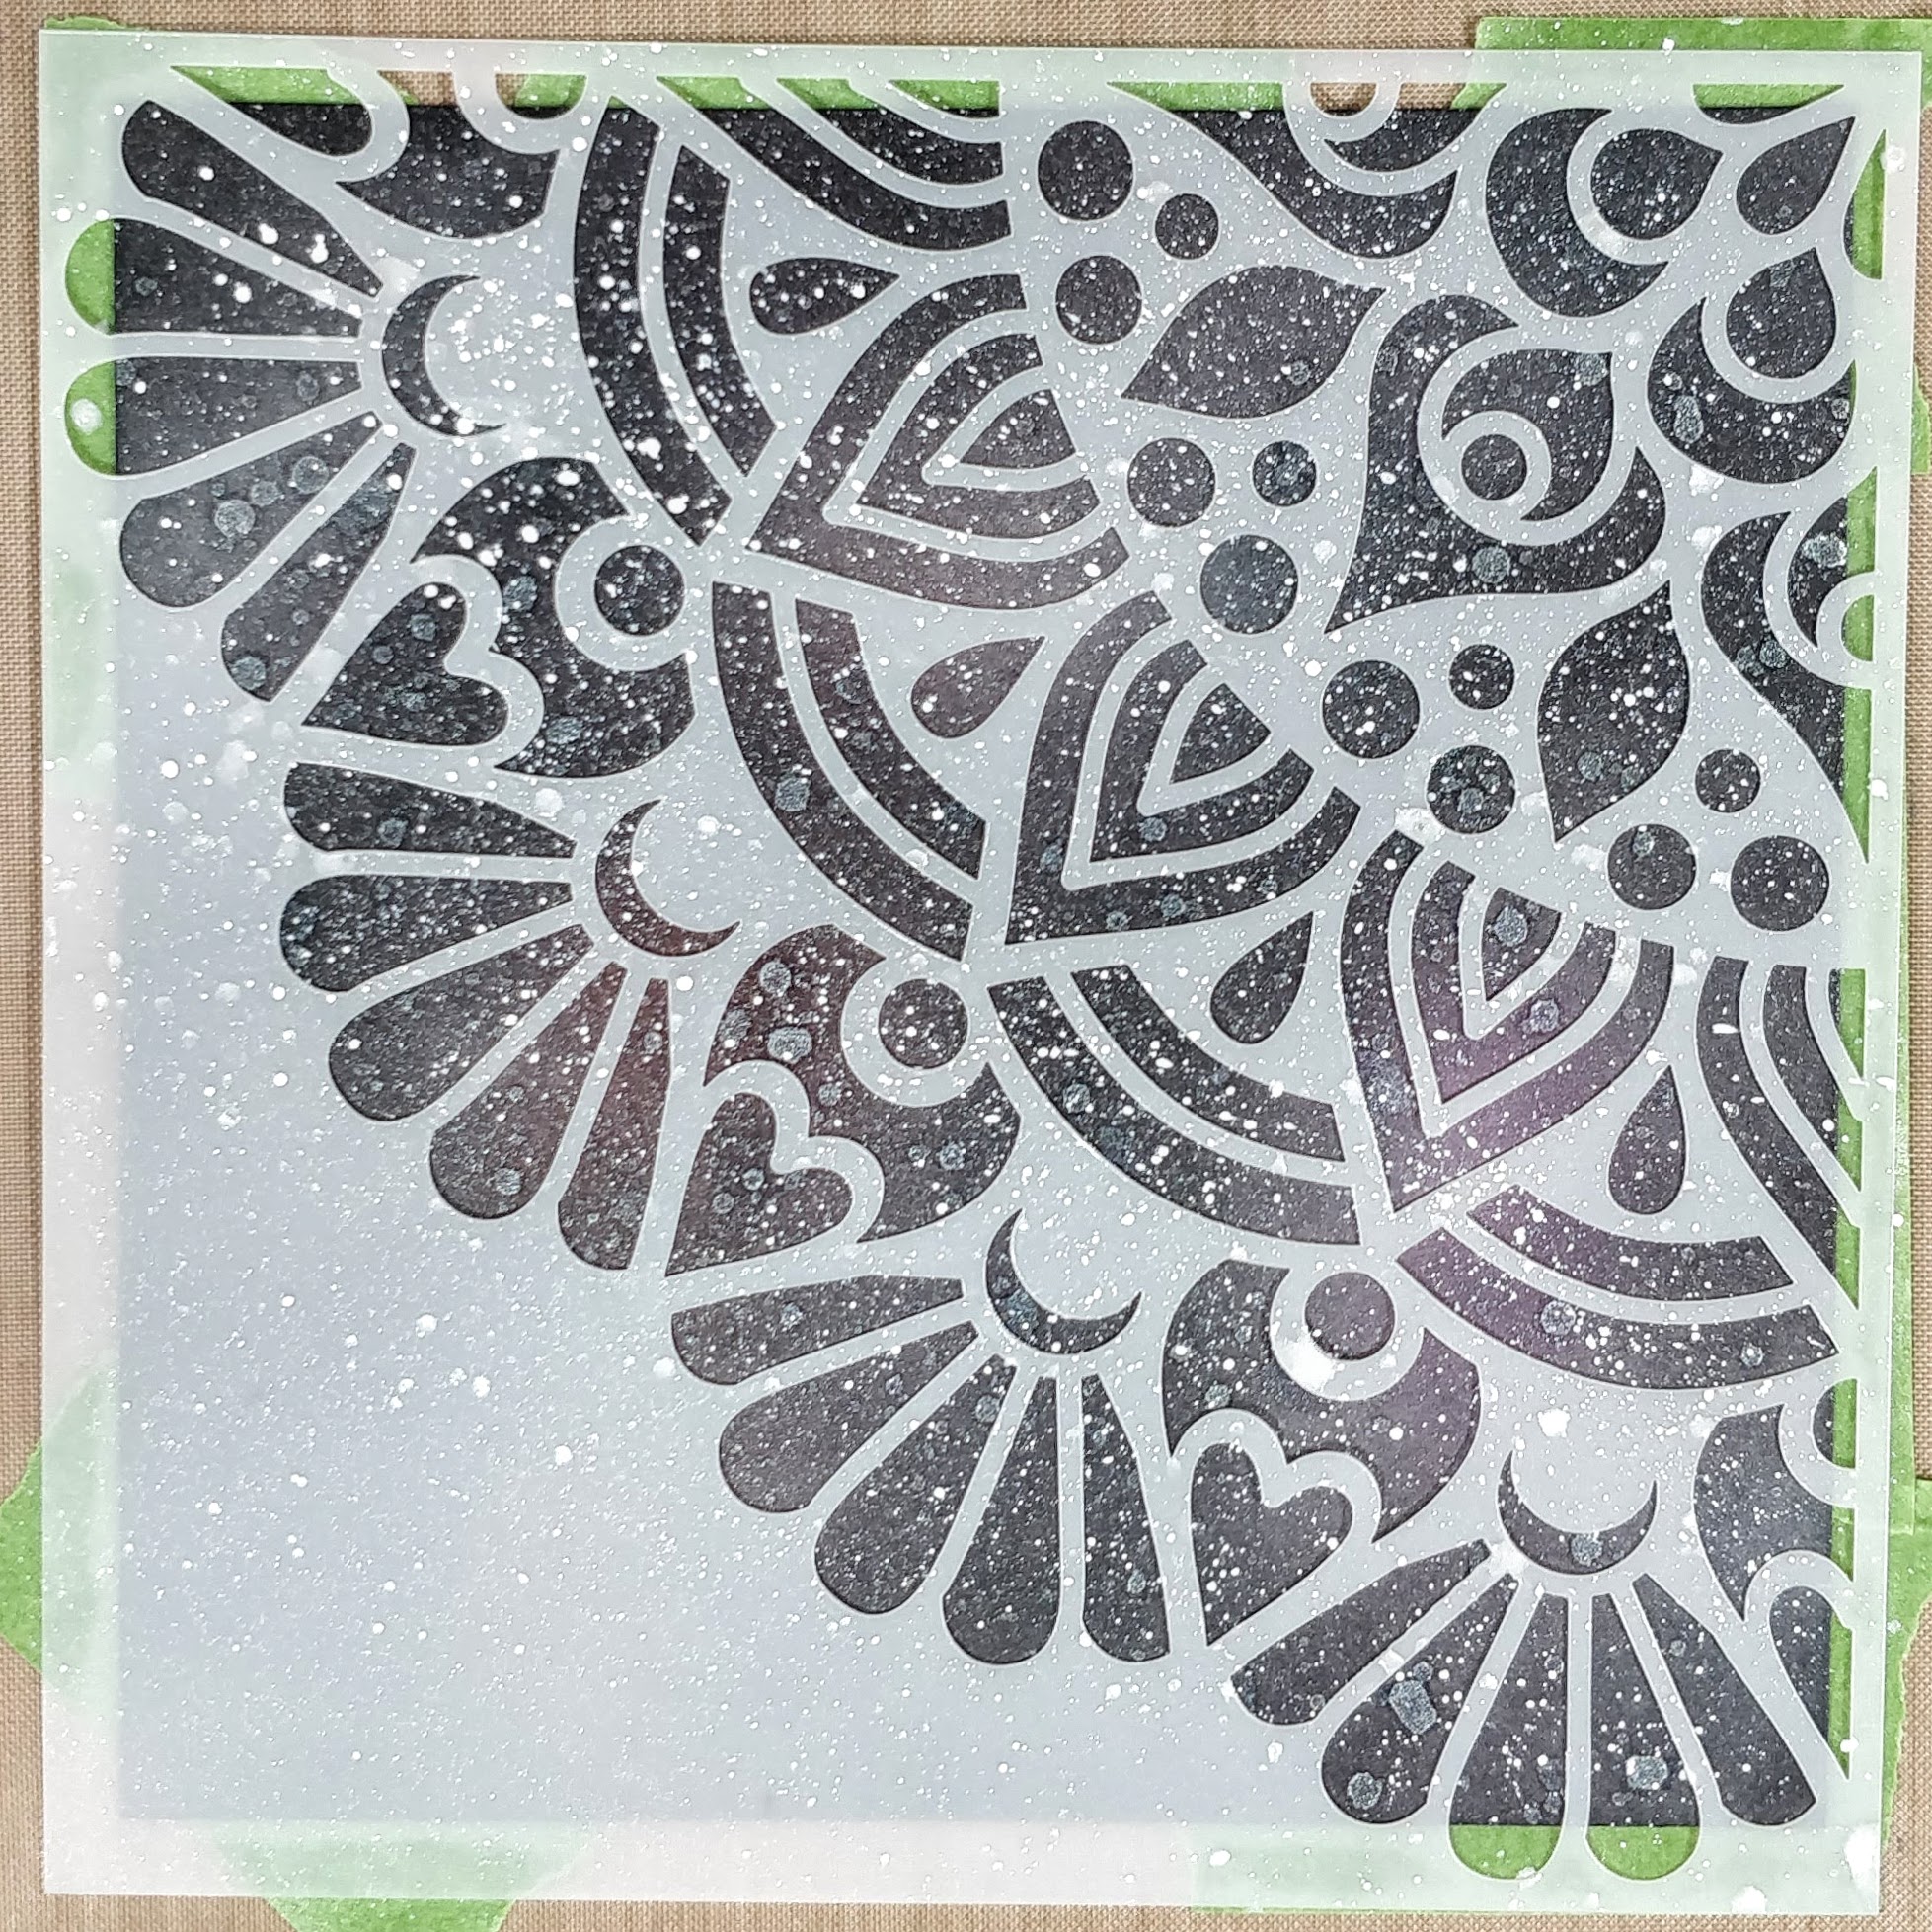 [/one_half]
[one_half last] [/one_half]
To pull this card together, I trimmed the panel to fit on top of a black square mat, layered on a white card base, with narrow borders. A space themed sentiment, embossed in white, is perfect in the opposite corner. A few iridescent gems and stars add more sparkle, and can hide any flaws from the stenciling process. Isn’t it beautiful?
[one_half]
[/one_half]
[one_half last]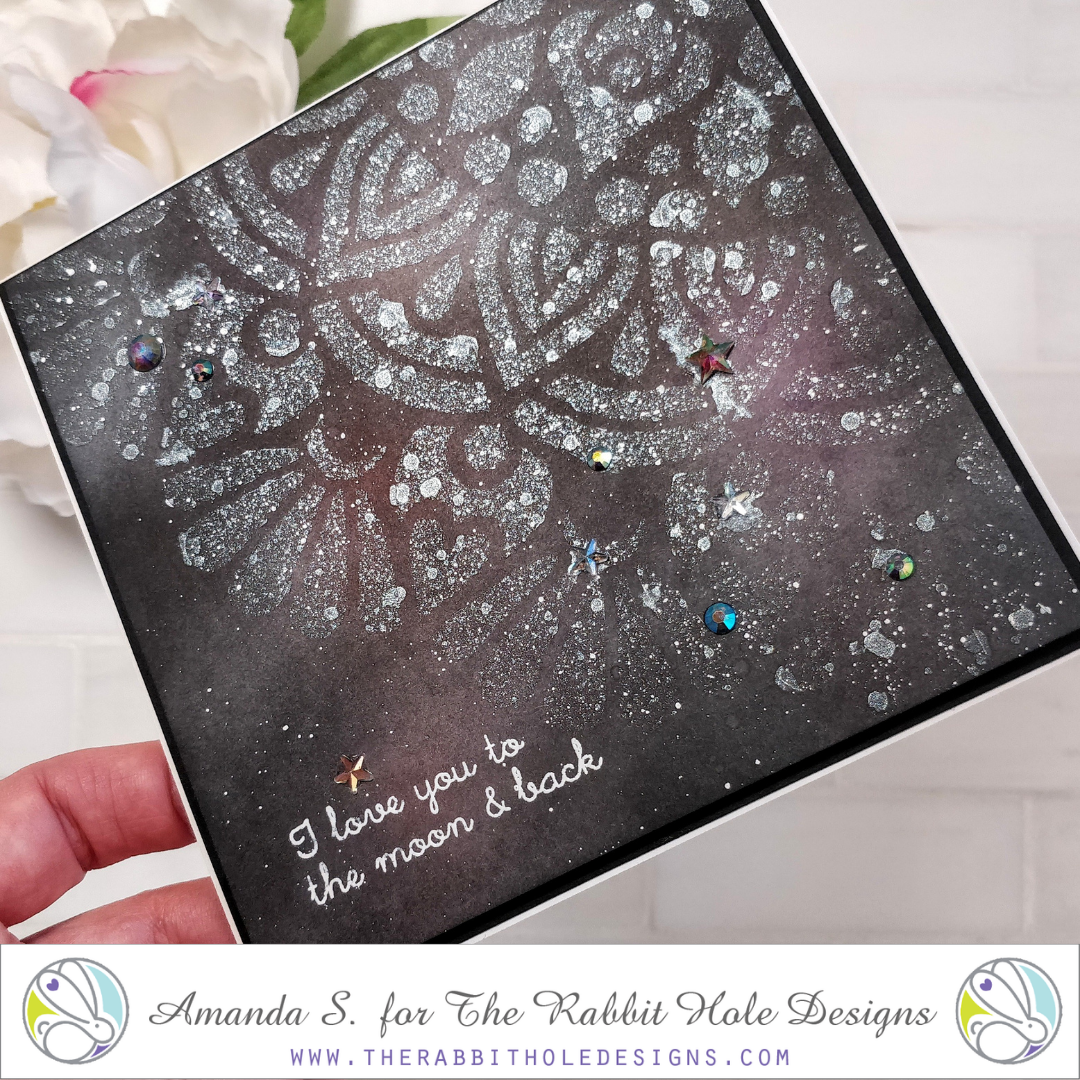 [/one_half]
[one_half]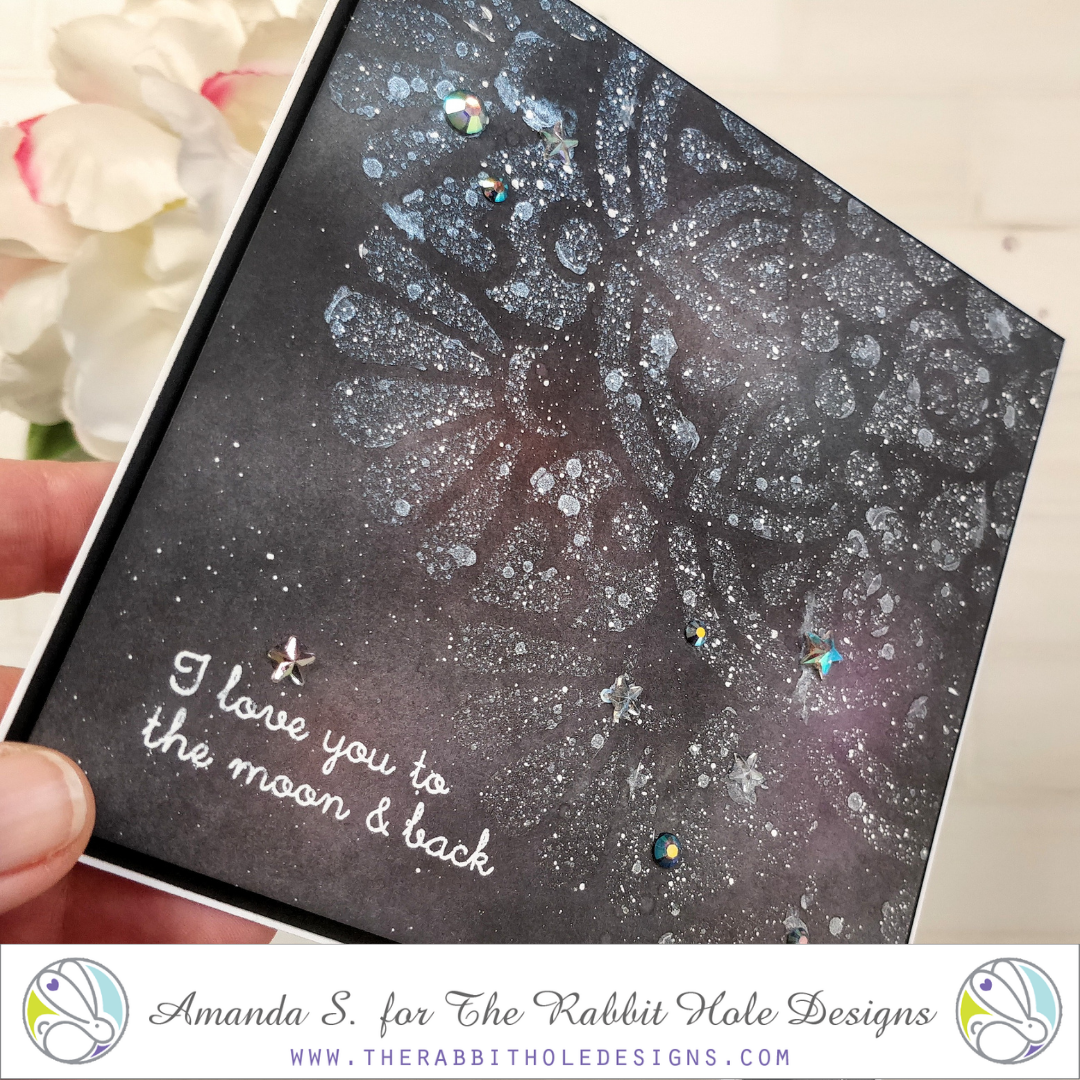 [/one_half]
[one_half last]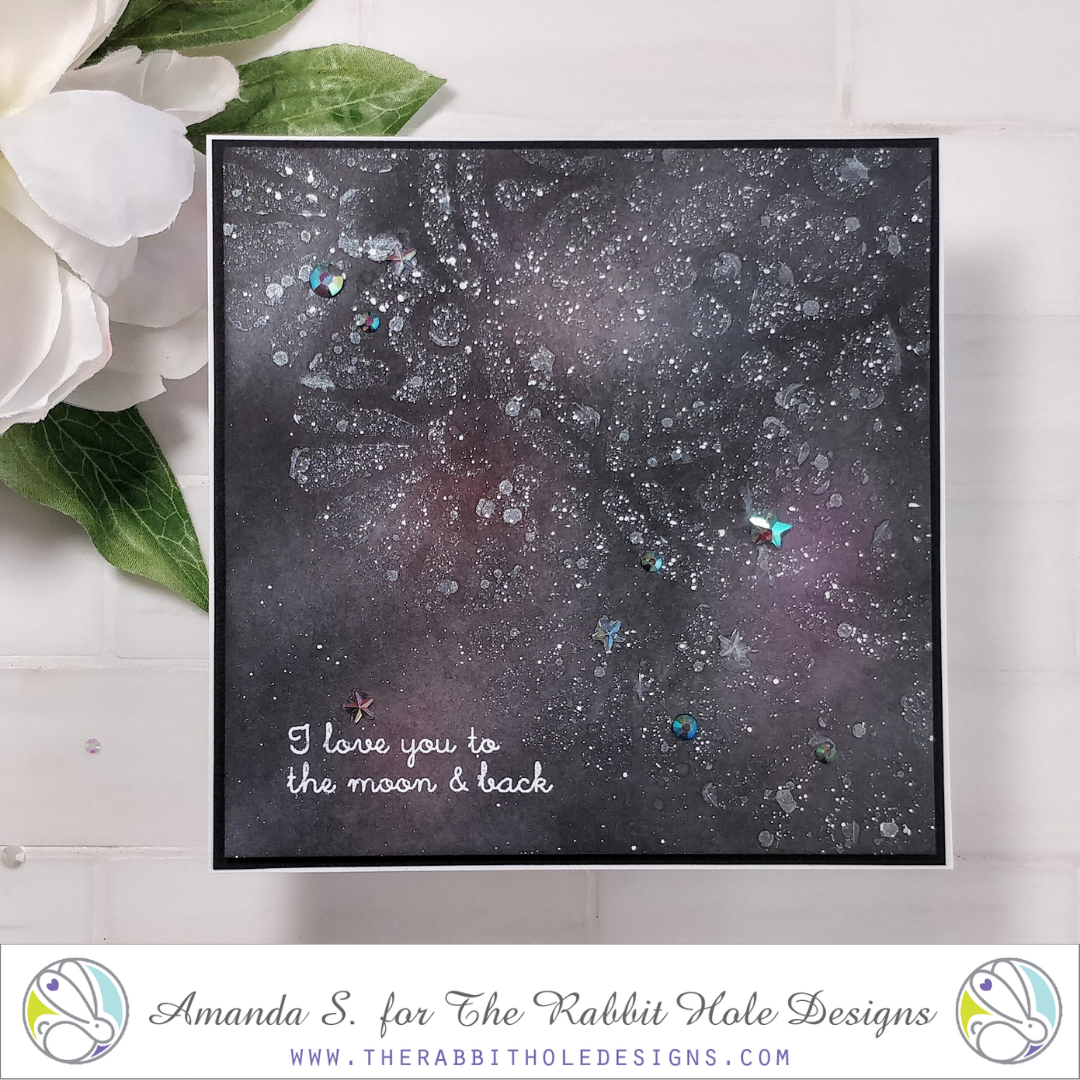 [/one_half]
What do you think of this technique? I have to tell you, I was inspired by my friend, Jenn Gross. She created a completely different background using this stencil, and it was absolutely stunning! In the design team group, we were all trying to guess how she did it. (Don’t worry, she’s announcing it on her blog today.) It got me thinking about new and different ways of using a stencil for backgrounds. Do you have a favorite way? Let me know in the comments below.
Looking for more stencil techniques? Hop along with us! Jenn wasn’t the only one creating fun backgrounds. You are going to want to see what the whole team has been up to!
The Rabbit Hole Designs
Amanda – you are here
Amy Beth – next stop
Jenn
Kelly
Kim
Lauren
Melinda
Tangii
Terra
Von Marie
To celebrate the new release, The Rabbit Hole Designs is giving away two savings vouchers; one to a lucky Instagram Follower and one to a lucky Facebook Fan Page follower. Winners will be chosen at random from the comments left on the INSTAGRAM post, and on the Fan Page post. So make sure to head on over to INSTAGRAM and look for the giveaway post from @therabbitholedesignsllc. Then, look for the Facebook post on The Rabbit Hole Designs Fan Page. To enter, comment by 11:59 p.m. PST on Jan 28, 2021. Winners will be announced on The Rabbit Hole Designs blog on Jan 29th.
Thanks so much for stopping by today! I’d love to know which card is your favorite. And don’t forget to share your favorite stencil ideas below too. I’ll be back soon with another fun card to share.
This site uses affiliate links whenever possible (at no additional cost to you), but only for products I actually use and love.

Love both cards. The second card is so cool. I will have to try it out. I am loving the Joseph Coat with my stencils.