Hello, hello my crafty friend! I’m back with another no-line coloring project featuring the Simple Things stamp set. I have to tell you, I really love this kitty! He’s dapper, and a bit of a hipster, all at the same time. You may remember the first card I made with him (click here to see). For that card, I stamped him in Warm Glow ink, and colored him with a warmer palette. This time, I wanted to stamp him in London Fog ink, and use a cooler palette to compare. I love him just as much!
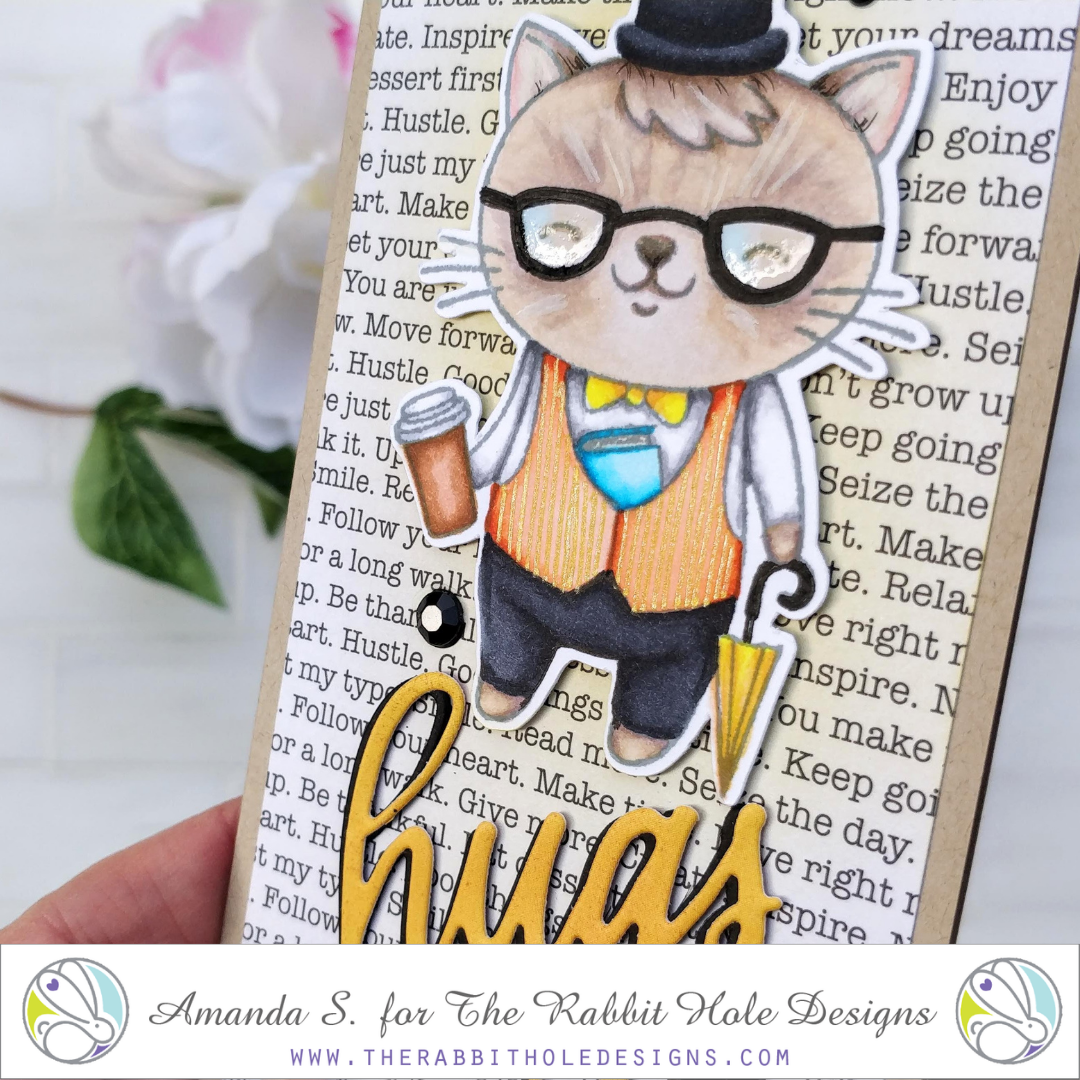
To start this card, I stamped the kitty in London Fog ink and colored him with Copic markers. With no-line coloring, it can be tricky to get sharp lines. That’s more noticeable on dark objects, like his glasses. To get crisp lines, I outlined his glasses with a black Copic Multiliner pen. Then, I colored the rims with dark grey markers. Using a white gel pen, I added highlights to the fur on his head, and while the ink was still wet, I smeared it with my finger to soften and blend it in. For some shimmer, I added pinstripes to his vest with a gold gel pen. After cutting him out with my ScanNCut, I added Diamond Glaze to his glasses, and set him aside to dry.
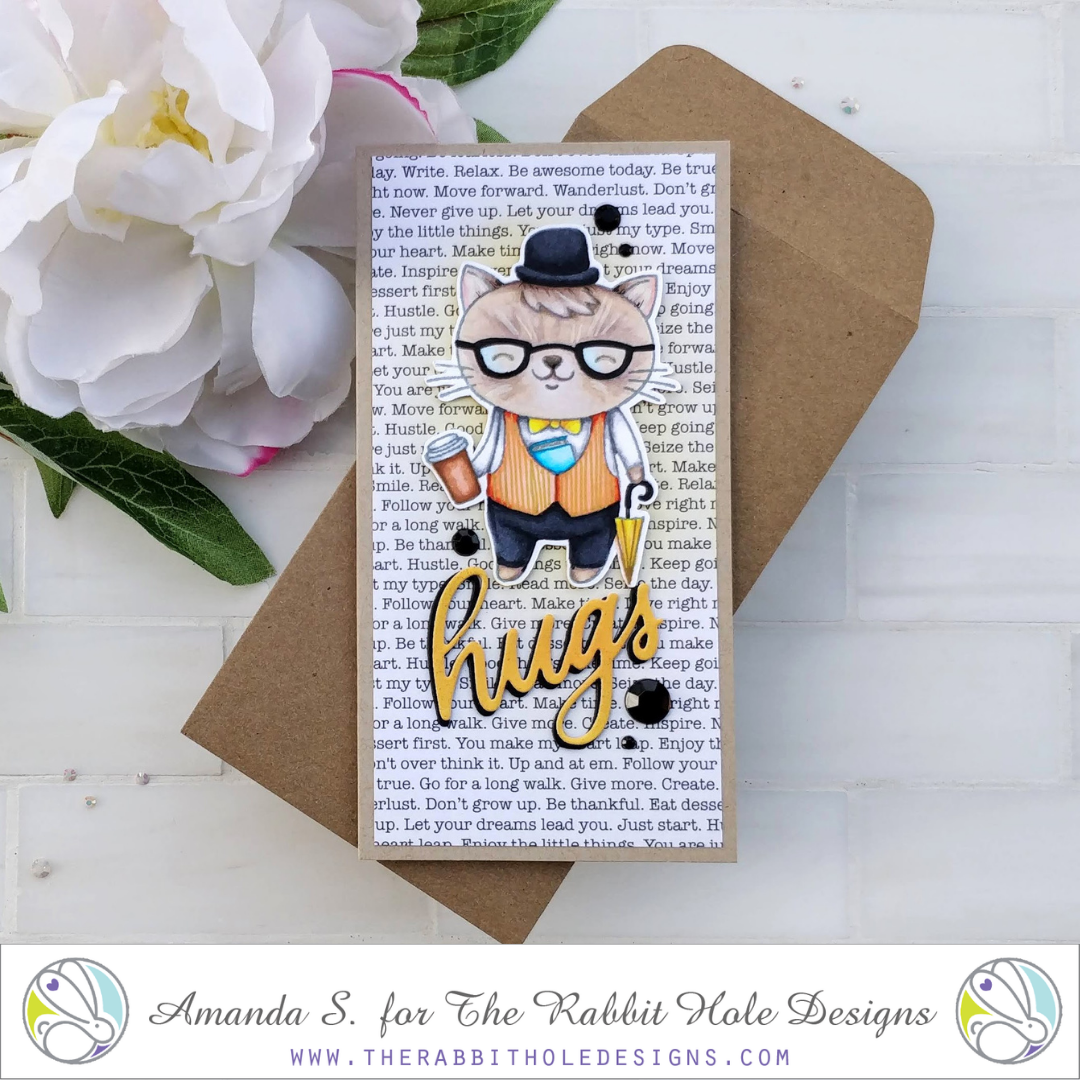
To pull this mini-slimline (yes, I’m still obsessed with the size) together, I created a 3¼” x 6¼” card base from kraft cardstock. To add interest to the background, I trimmed a piece of typeset pattern paper down to 3″ x 6″ and blended yellow ink around the area where the cat and sentiment would live. I glued it flat to the card base, then popped the cat up with foam tape. To create the sentiment, I die cut the word HUGS three times from black cardstock, and again from amber. I stacked the three black layers together, then slightly offset the amber layer on top. I glued it under the cat and added a few black gems to the fill out the focal area. That’s it, easy peasy, to keep the focus on the kitty. Isn’t he adorable? When you compare him to the first card I made, which do you like better? It’s a tie for me.
A couple of quick notes… this card fits into a #7 coin envelope. Also, if you don’t have any typeset pattern paper, you can tear a page out of an old book (check out the selection at the dollar store), or even type up and print out a page of your own. When it comes to stamping with grey or brown ink, you’ll want to make sure the ink is compatible with the coloring medium you are going to use. If you don’t have a Copic friendly grey ink, you can stamp your black ink on scratch paper a few times, before stamping on your cardstock (2nd or 3rd generation stamping). It will give you a softer image that should work for no-line coloring.

Thanks for stopping by today. I hope I’ve inspired you to give no-line coloring a try. Whether you stamp with brown or grey ink, you get a completely different look than when you stamp with black. I’ve been practicing a lot, and I am really starting to like it. I’ll be back later this week with another no-line coloring trick I like to use.
This site uses affiliate links whenever possible (at no additional cost to you), but only for products I actually use and love. Like this cat, I love this cat!

Such a cute card! I’m also loving the mini slimline cards. I have not tried no line coloring… kinda scares me, but your tips seem very helpful. Both of your hipster cats are darling!
such a cute card!