Hello my crafty friend, I’m back with another fun idea for backgrounds. Recently, I shared a post showing you several different ways to make backgrounds with Aqua Pigments. If you aren’t familiar with them, they are liquid watercolors from Brutus Monroe. They are new to me and I’ve been having a blast playing with them! Today I’m focusing on just one technique with them — BUBBLES!
I was inspired by my friend Annalisa. She recently uploaded a video where she used bubbles to remove color from an ink blended background. (Check it out; it’s such an awesome idea!) Instead of using the bubbles to remove color though, I’m going to show you how to add color with them. You can watch the process here…
I started by mixing about 1 tablespoon of dish soap with a healthy dose of Aqua Pigments, about 4-5 squeezes of the dropper. Then I added in a little water, less than 1/4 cup. You want to try to add as little water as possible so the color stays vibrant, but you need enough to be able to blow bubbles in it. I mixed the solution with a chopstick, in a shallow dish that was just a little bigger than my watercolor paper pieces. Then I blew a bunch of bubbles with a drinking straw! (This is fun for kids of all ages 🙂 ) I dipped the paper in, picking up as many bubbles as possible. I used a heat gun to pop the bubbles and dry my paper. I repeated the process over and over, building layers of color. I often used my locking tweezers to help hold the paper as I dipped it.
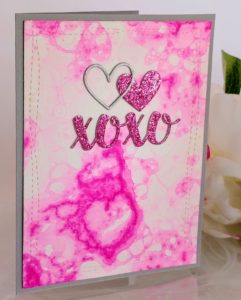
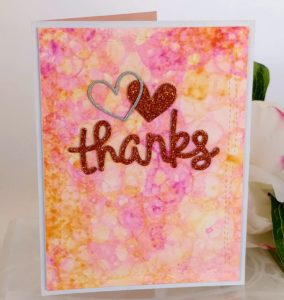
My first batch of bubble solution was colored with fuschia. After several backgrounds were done, I added several dropper-fulls of magenta, and re-dipped my backgrounds. This added more layers of color and contrast.
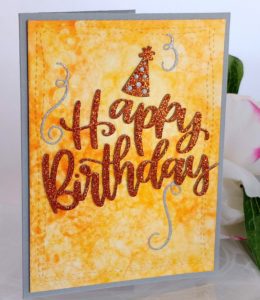
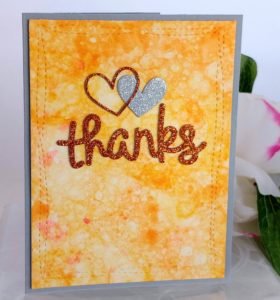
Once I was happy with my pink backgrounds, I mixed up a new batch of solution with orange and made more backgrounds. I added some coral into the mixture, and repeated the process. Then I dipped some of my pink backgrounds into the coral bubbles for a two-toned effect. This color combo works nicely together. I’m not sure how well it would work if you add too many colors, or use colors opposite of each other on the color wheel. You might end up with mud. (Can’t hurt to try though, right?!)

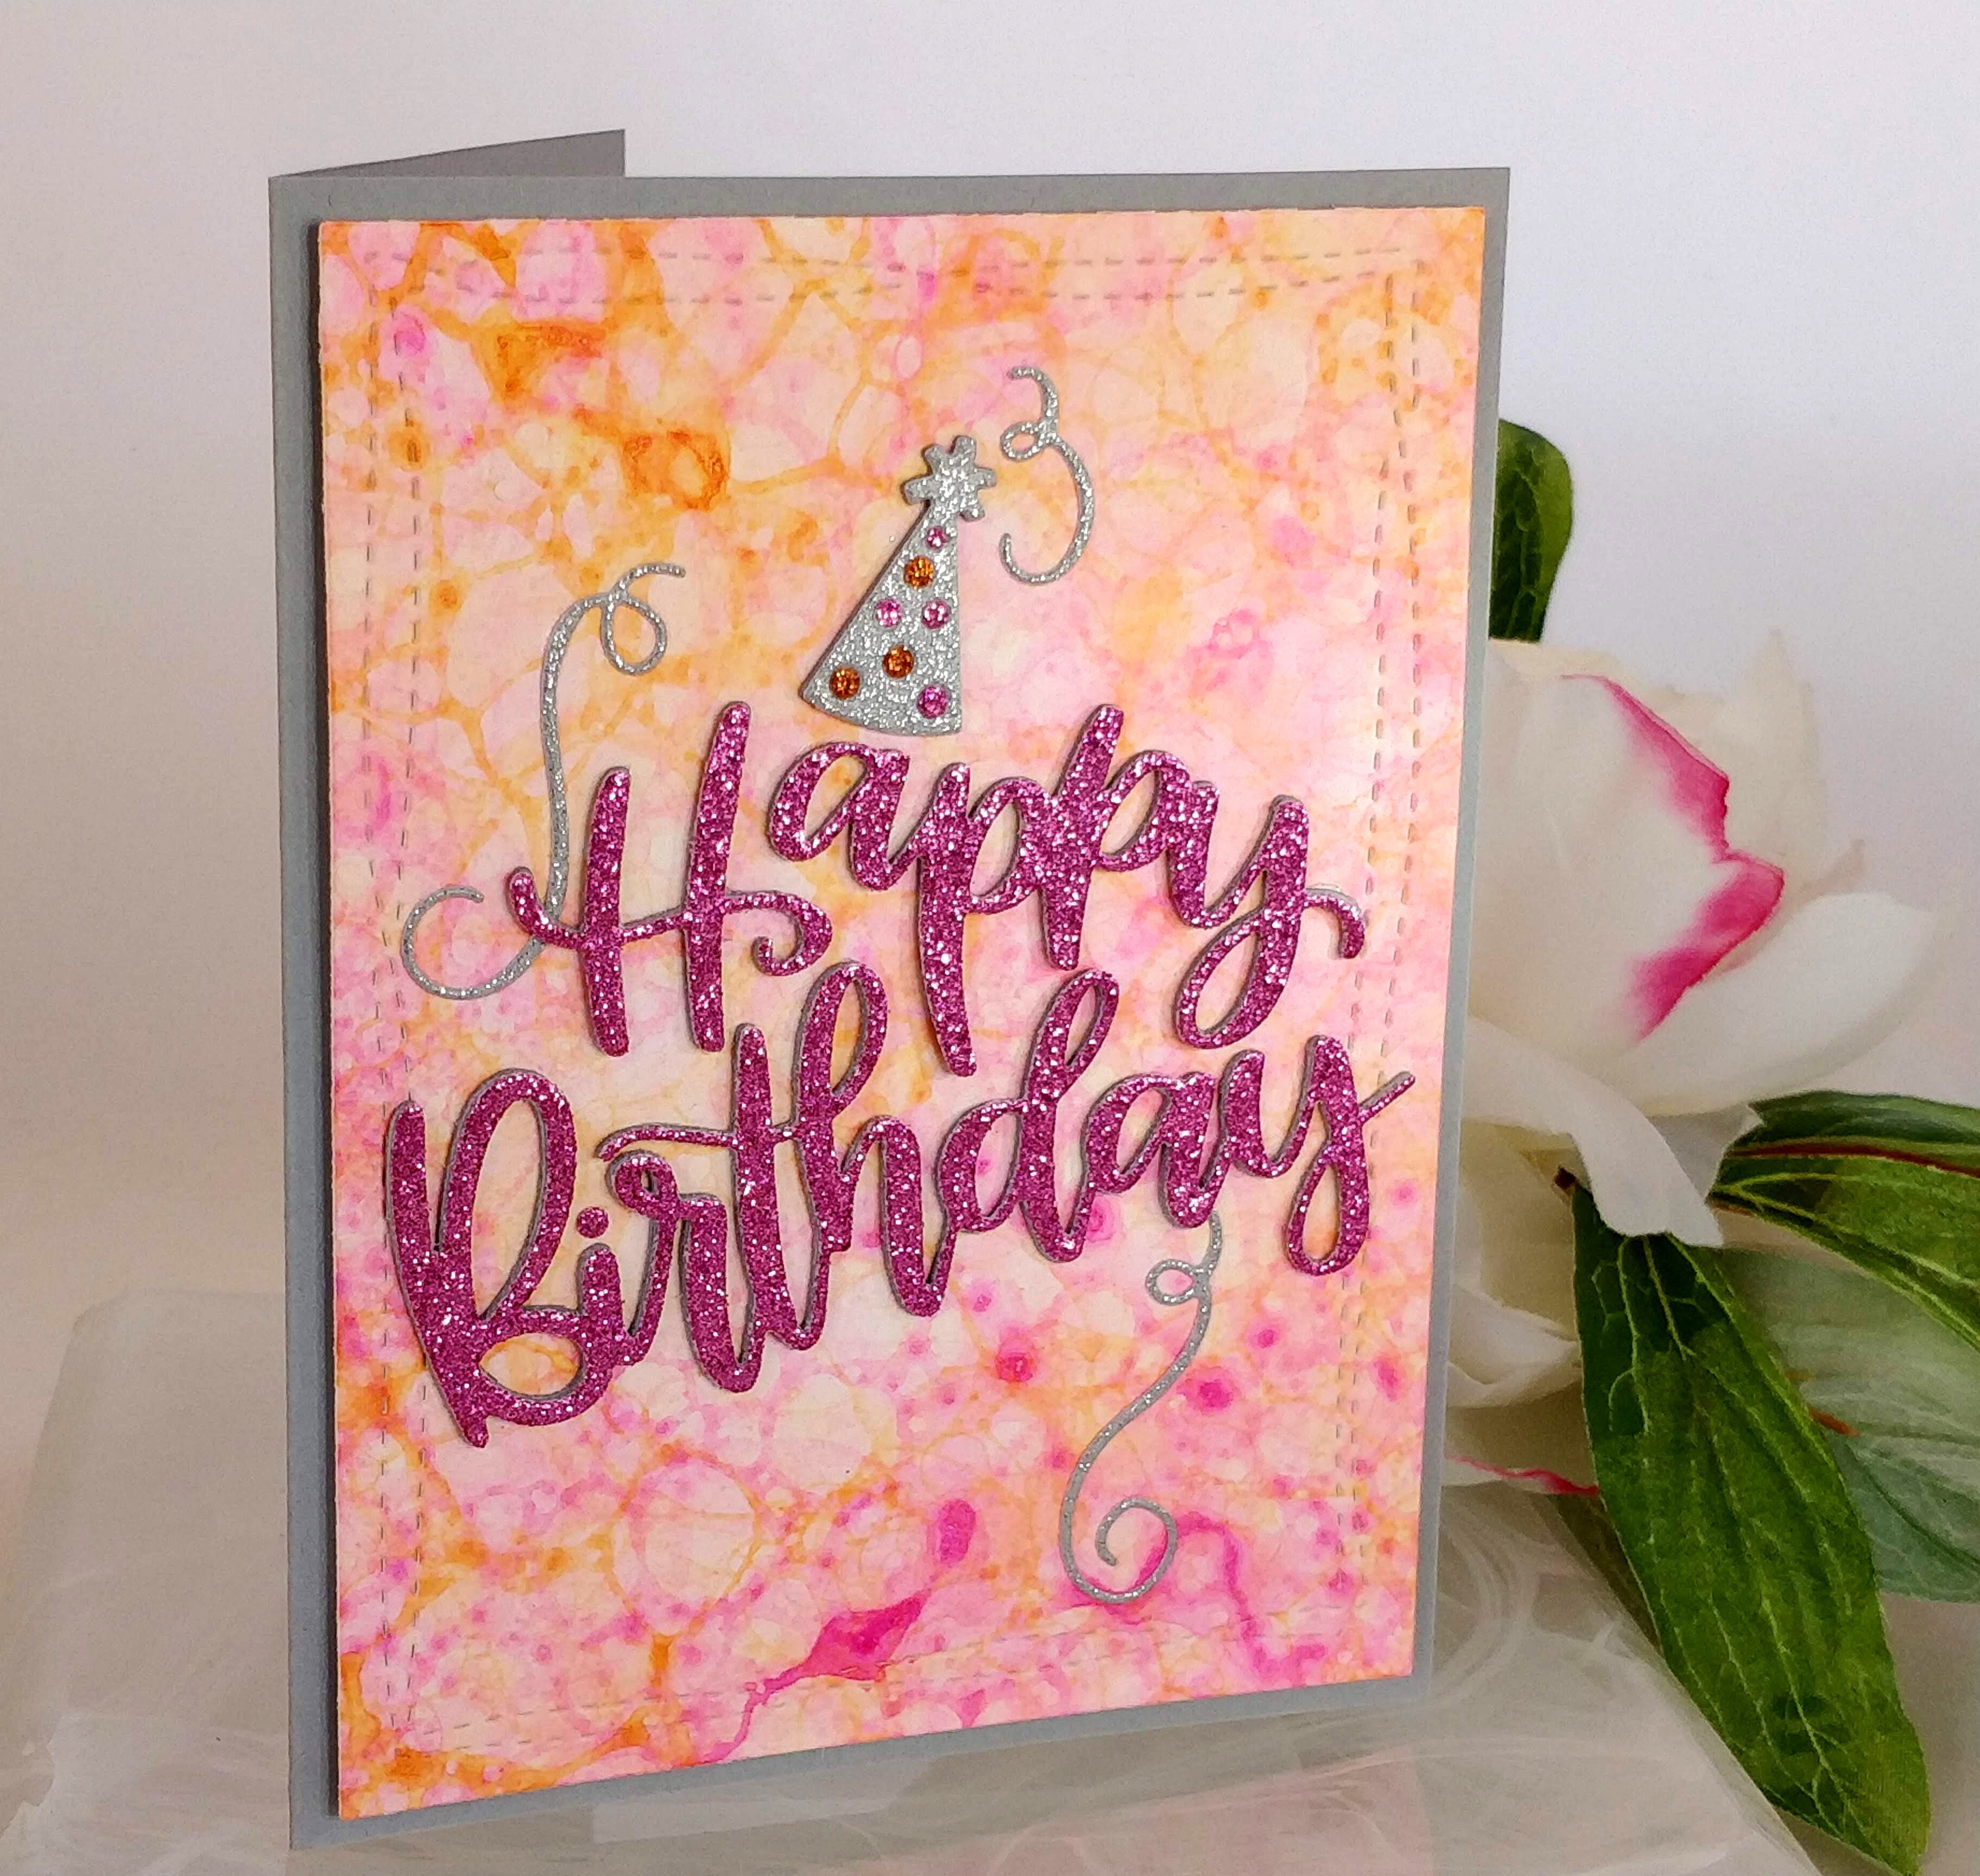
With my backgrounds all dry, I decided to turn them into quick cards. I cut them all down with a wonky stitched rectangle die. I created A2 card bases from grey cardstock and glued the bubble backgrounds to them with a thin piece of fun foam in between for dimension.
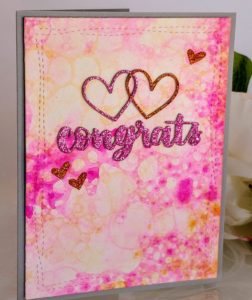
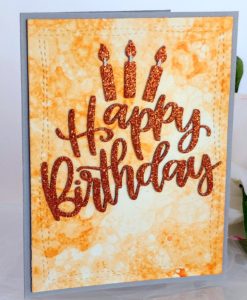
I went through my stash of sentiment dies and pulled out Happy Birthday, Thanks, XOXO, and Congrats. I also pulled out heart, candle, streamers, and party hat dies. I cut a pair of sentiments and decorative accents for each card from grey cardstock. Then I cut another set from coordinating glitter stock. I glued the three layers together, with the glitter stock on top, to form a thick embellishment, then I glued them onto the bubble backgrounds. That’s it! I told you they were quick cards.
As a final touch on the cards with birthday candles, I used a silver gel pen to color the wicks. It just makes them look a little more finished. Also, the party hat die I have cuts little decorative dots in it. I back filled those dots with different colors to make the hats pop. Those cards also have streamers; the streamers are only single layers.
So are you ready to get your bubble on?! Once you get started, you won’t want to stop. Be sure to cut enough sheets of watercolor paper so you can make extra backgrounds to have on hand for later. And let me know if you have any questions!
If you’re looking for more ways to use Aqua Pigments, check out Aqua Pigment Backgrounds – 6 Ways! And be sure to head to the Brutus Monroe blog to see the sister article to this post. I’m featured as a guest designer!!!

This site uses affiliate links whenever possible, but only for products I actually use and love.
