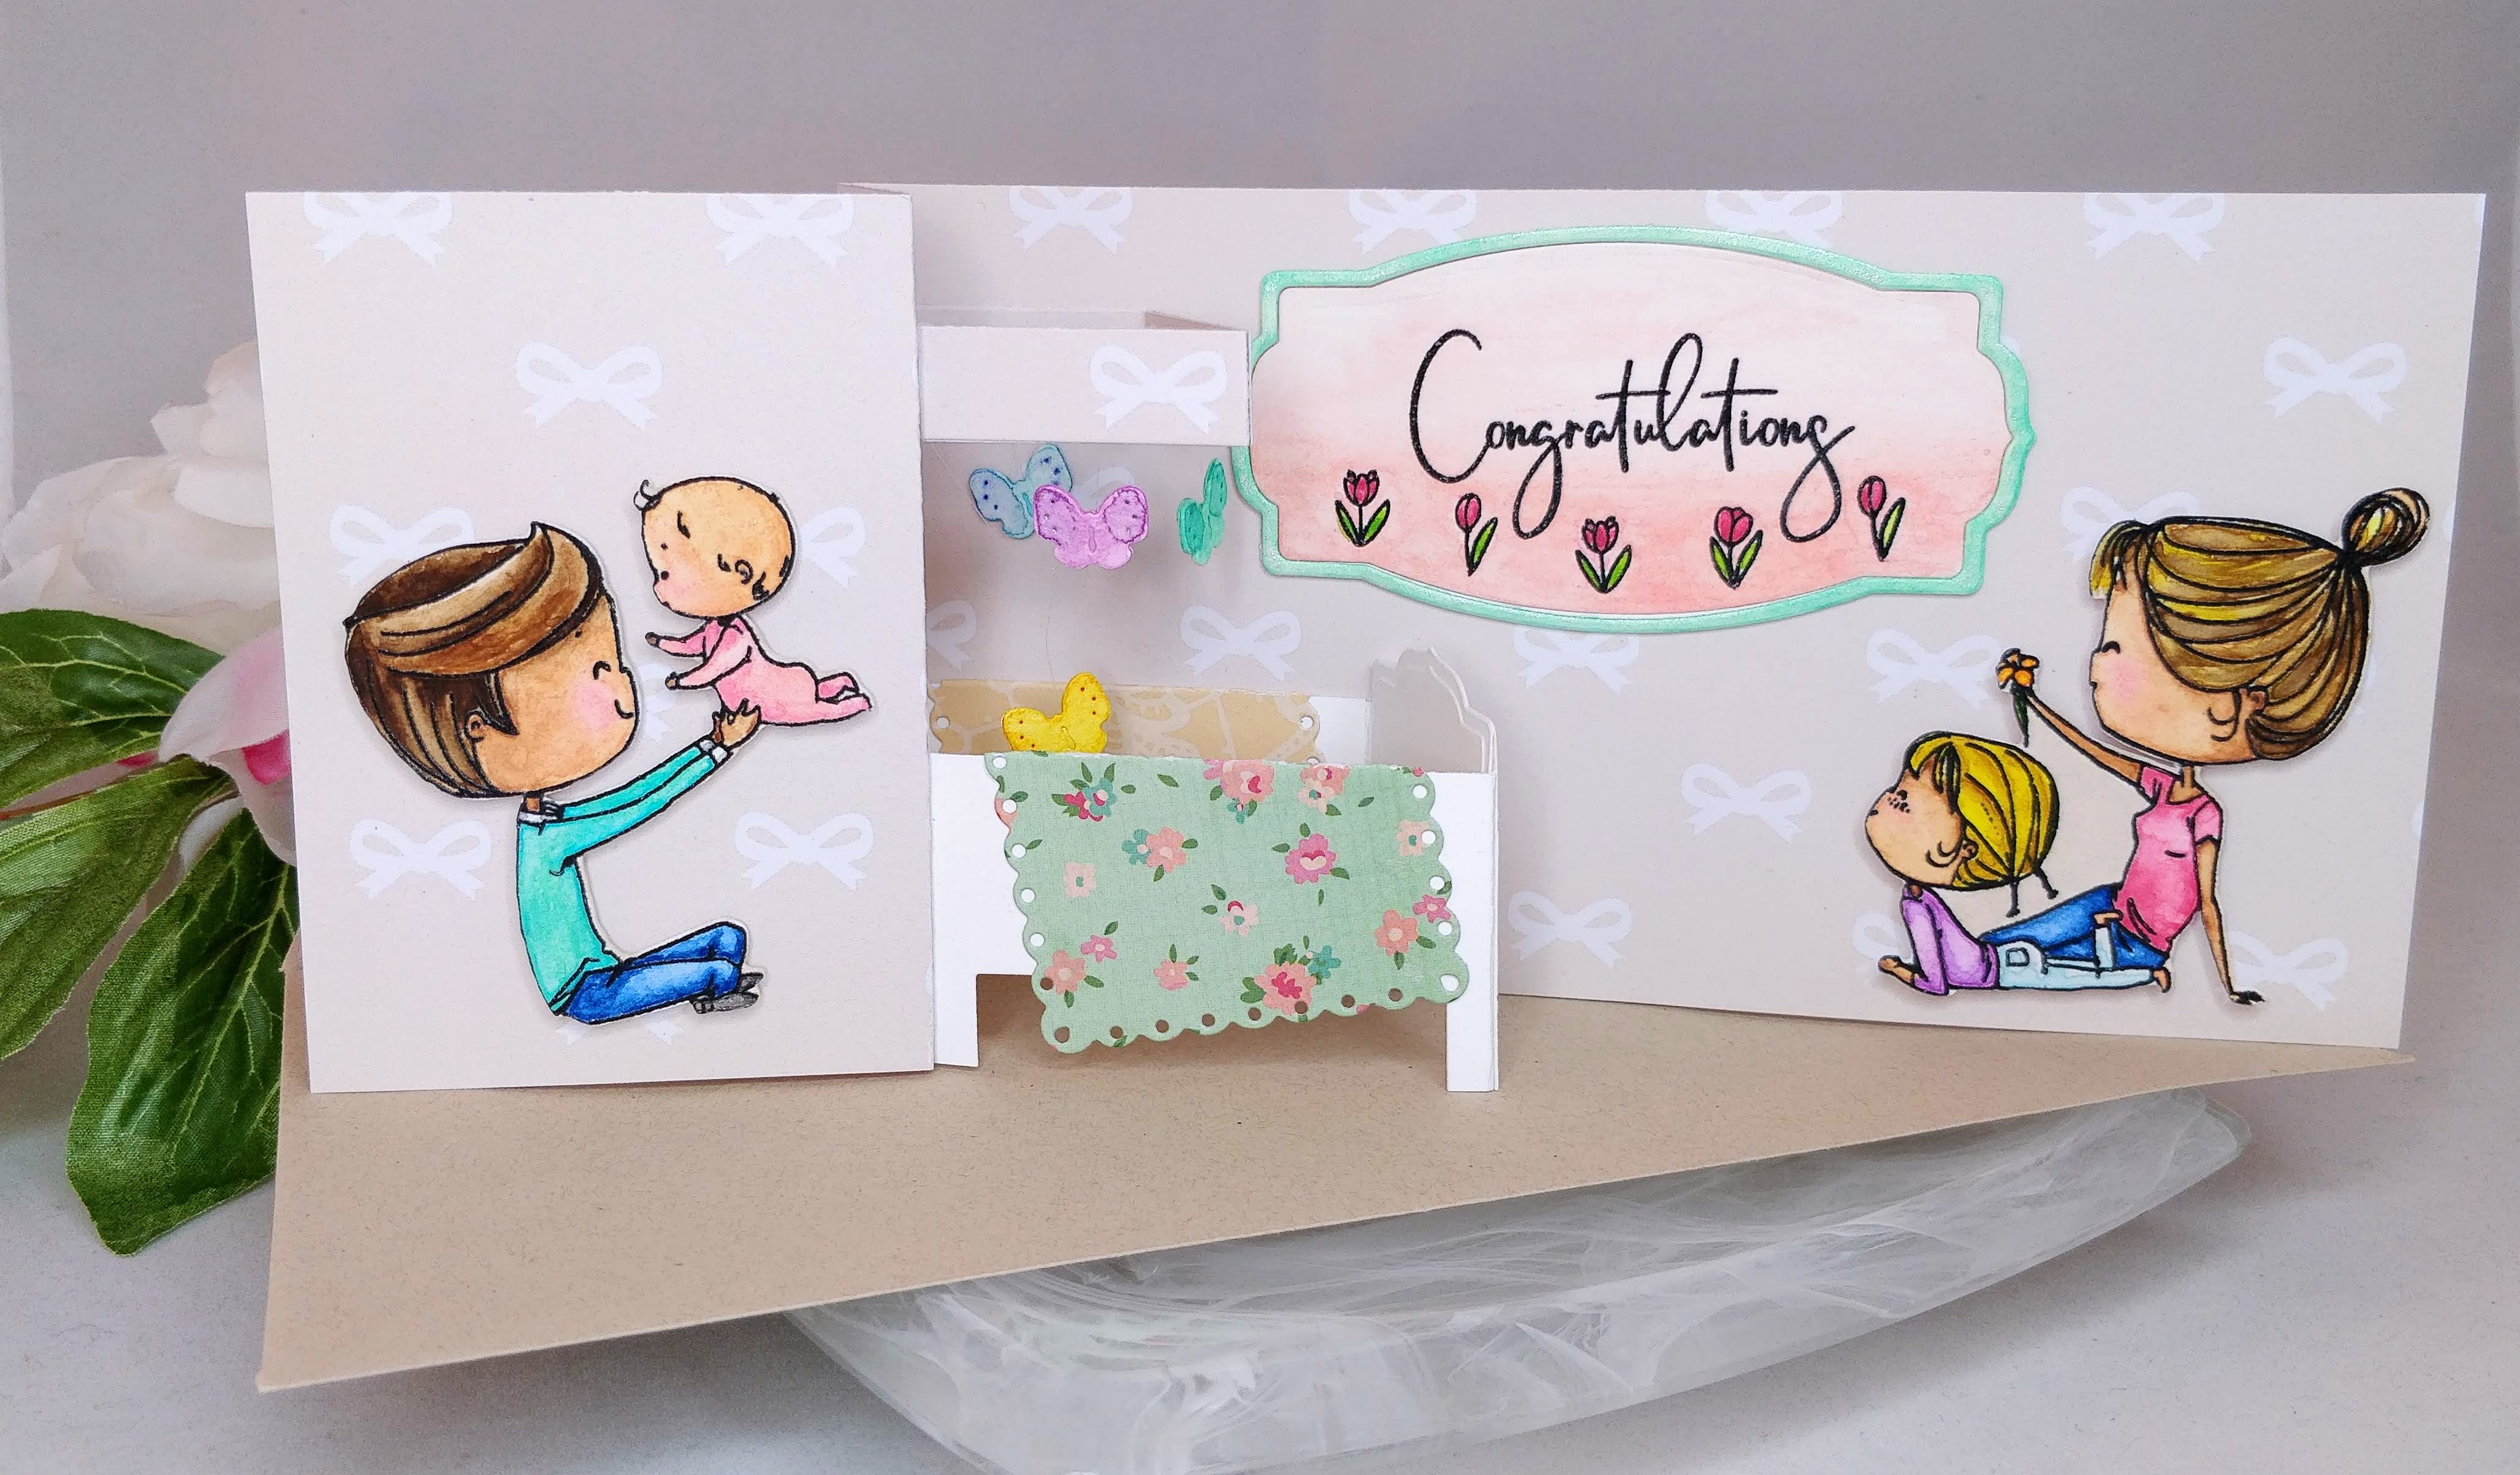
Hello again my crafty friend! Today, I’ve used new stamps from The Rabbit Hole Designs for another fun, interactive card for you. I’ve combined images from the We Are Family set with a sentiment from the Happily Ever After set to create a card with a crib that pops up when you open it! It’s perfect for baby showers, or welcome baby cards. It may seem complicated, but it was actually pretty easy to make.
First I stamped and embossed the family images, then used my Prima watercolors to paint them. I used three pallets (classic, tropical, and pastel dreams), but you can mix colors to get lots of shades. Weirdly enough, I use the tropical pallet most often; it seems like you can do almost everything with those colors. Once they were dry, I cut them out with my ScanNCut. (No sore thumbs here folks!) While my stamping and watercolor supplies were still out, I also stamped and embossed the sentiment and a few little flowers from the Easter Bounty set onto a die cut tag, then I painted it. The tag dies I used are nesting, so I cut out a slightly larger frame and painted it aqua to coordinate. I wanted the sentiment to look like a framed picture hanging in the baby’s room.
 To make the pop-up crib, I took a 1 1/2″ x 8 1/2″ strip of white cardstock and scored it at 2 5/8,” 4 1/8,” 6 3/4,” and 8 1/4.” When you fold the piece up, you get a little box shape with a tab for gluing it together. Before I glued it together though, I cut notches out of the bottom of each section to look like crib feet. The shorter sides are the head and foot of the crib. I cut out a pair of the same tag dies I used for the sentiment and trimmed them to fit as the headboard and footboard. I glued the crib together. Then I cut a pair of pattern paper “blankets” with a scalloped rectangle die and glued them over the sides of the crib. (This way, I didn’t have to try to make slats in the sides.)
The card base was created from a 4 1/2″ x 12″ piece of cardstock. I scored it at 2 3/4″ and 4 3/8″ to form a z-fold card. I nestled the crib inside the fold and glued the headboard and back side to the card. Now when it is unfolded the crib pops up! I like z-fold cards because you are decorating the inside and outside at the same time 😉

To add a mobile above the crib, I took a 1/2″ x 6 1/4″ strip of the same paper I made the card base with and I folded it at 1 1/2,” 3,” 4 1/2,” and 6.” This forms another little box with a 1/4″ flap for gluing. I taped clear thread with double-sided butterfly die cuts to the center of each section and I suspended a fifth butterfly from a thread that spans two folds. I covered the tape with a second strip of pattern paper, then glued the box into place above the crib. Sandwiching your thread between two layers of paper hides the mess and looks nicer, since you can see both sides of the box when the card is open.
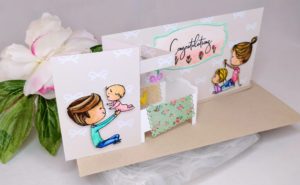
To finish my card, I glued the sentiment and frame in place. Then I popped the family images into place with a little foam tape for more dimension. There is some negative space that my ScanNCut missed between mom and daughter; I just colored it with a marker in the same color as the card base so it blends in. This card fits into a #10 envelope (standard letter size) and there is plenty of room to write a note on the back side. If you like to sign your cards or add a hand stamped image, I suggest doing that on the back of the z-fold (right behind the headboard). Here is the card in action…
I hope I’ve inspired you to try adding a pop-up to your z-fold cards. And if you do, please tag me in your posts on social media; I’d love to see! If you like the new stamp sets I worked with today as much as I do, you’re going to need them in your collection. They’re available now in The Rabbit Hole Designs’ shop! You’ll also find the sister post to this article on their blog! (Woot! Woot! Feel free to head over there and tell them you like my card 😉 ) As always, thanks for stopping by my friend; I really do appreciate your support!

Oh my gosh this is CUTE!!! What a great idea to make a the bed to go with the family. I love it.