Hello my crafty friend! I’m back with another fun card showing you how to bleach, or remove color, from ink blended areas. This technique is easy, and lends itself to simple designs. (It’s also a great alternative to traditional coloring.) You may recall, I shared a similar card a few weeks ago, where I bleached out areas in a die cut frame (click here to see that card). I wanted to show you that it is also quite effective with stamped and embossed images, like the 1 Line Happy Easter stamp set from The Rabbit Hole Designs.
To make this sweet little Easter card, I started by masking off the edges of a 2 5/8″ x 5 5/8″ white panel. (If you plan to do a lot of bleaching, use watercolor paper.) I used large blending brushes to ink up the panel with soft green and teal inks. To add a hint of texture and shimmer, I lightly spritzed the panel with shimmer mist. Large drops would have bleached out big dots, and I didn’t want those to distract from the focal point later, so I made sure to spray a fine, even mist from about a foot above. I let the panel air dry to prevent warping.
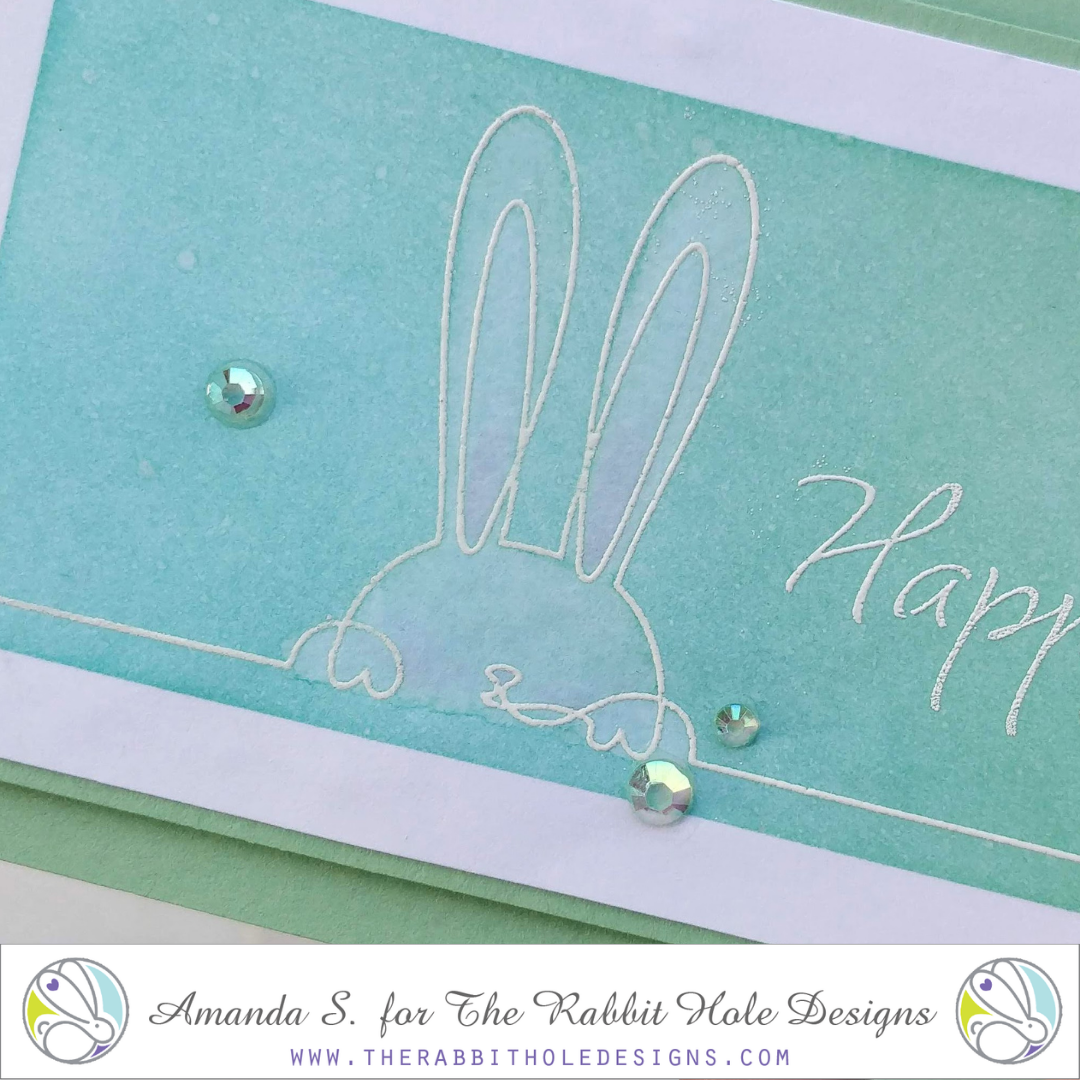
Once the panel was dry, I removed the masking tape from the edges and heat embossed the rabbit and sentiment with white embossing powder and Versamark ink. To bleach out the rabbit, I used a water brush and painted the image with clean water. After letting the water sit for a few seconds, I absorbed it with a microfiber towel. The more times you repeat the process, the lighter the image will get. However, you run the risk of warping your paper if you get it too wet, or dry it with high heat. I recommend letting your image air dry between coats of water.

Notice the hint of pink in my bunny’s cheeks and ears? After I was happy with the bleaching, I used my water brush and a pink marker to drop in a little color in those areas. Two tips for that process… One, make sure to scribble the pink marker onto a slick surface and pick the color up with your brush. You don’t want to go direct to paper with the marker, or you might lay down too much color. Two, to help the color blend in softly, apply it to areas that are still damp. (I know I said to let it dry between coats, but for this trick, you want to add the color back in before the image dries completely.)
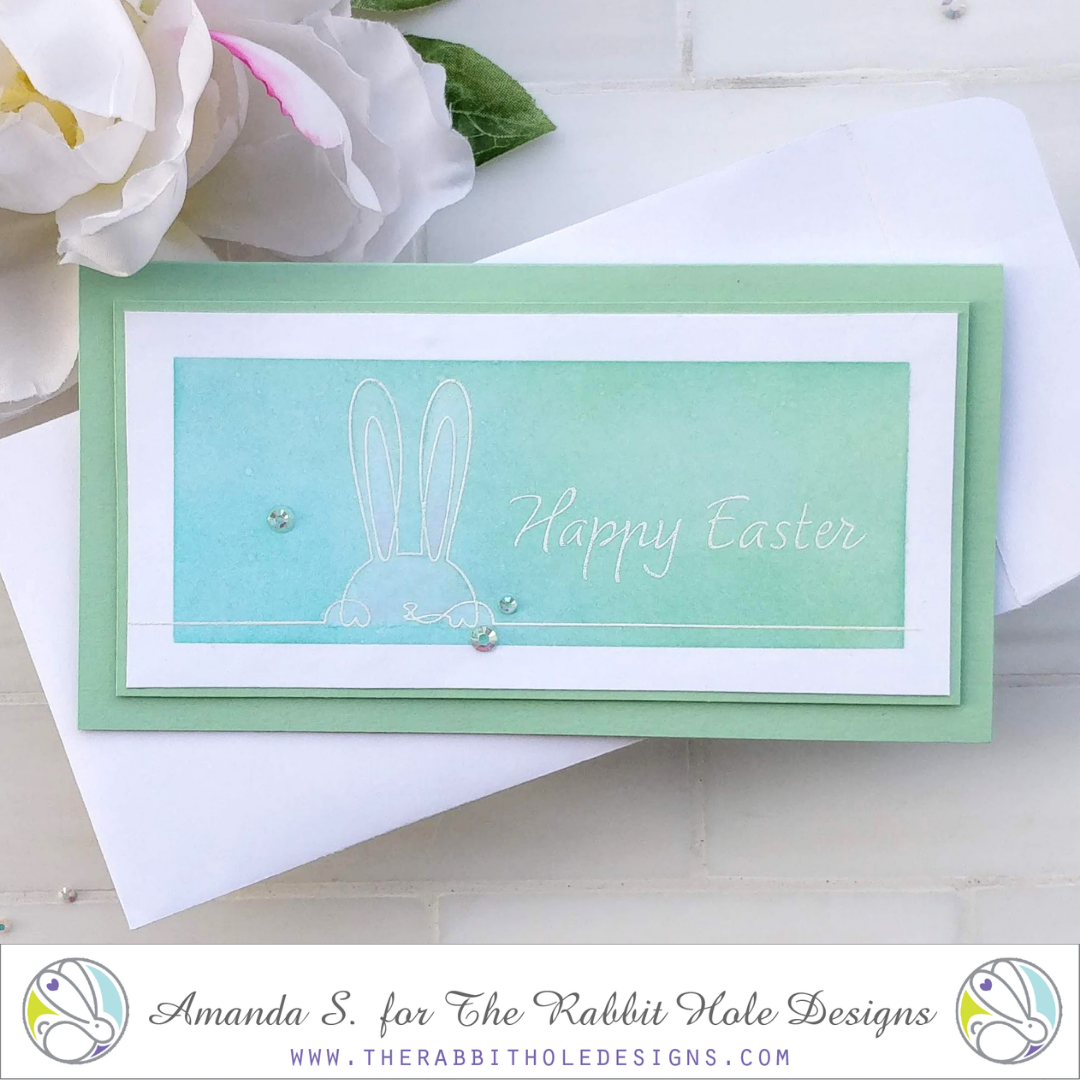
Soft and subtle was the name of the game with this card, so I chose an easy design to pull it together. I glued the panel flat onto a green rectangle measuring 2 3/4″ x 5 3/4.” This stabilized the inked panel and flattened out any warping. For a little dimension, I popped the whole thing up with foam tape and mounted it to a 3 1/4″ x 6 1/4″ green, mini-slimline card base. A few scattered iridescent gems add a bit more sparkle to this clean and simple card. It fits perfectly into a #7 coin envelope.
Thanks so much for stopping by today. I hope I’ve inspired you to give this technique a try. Tag me on social media if you do so I can cheer you on! And let me know if I’m driving you crazy with all of these slimlines. The mini is currently my favorite size, and I have a few more in the queue, but I promise I’ll have some A2s again soon.
This site uses affiliate links whenever possible (at no additional cost to you), but only for products I actually use and love.

What precious images and cards.
Loved the after look with this technique. Will definitely be trying this. Thanks !