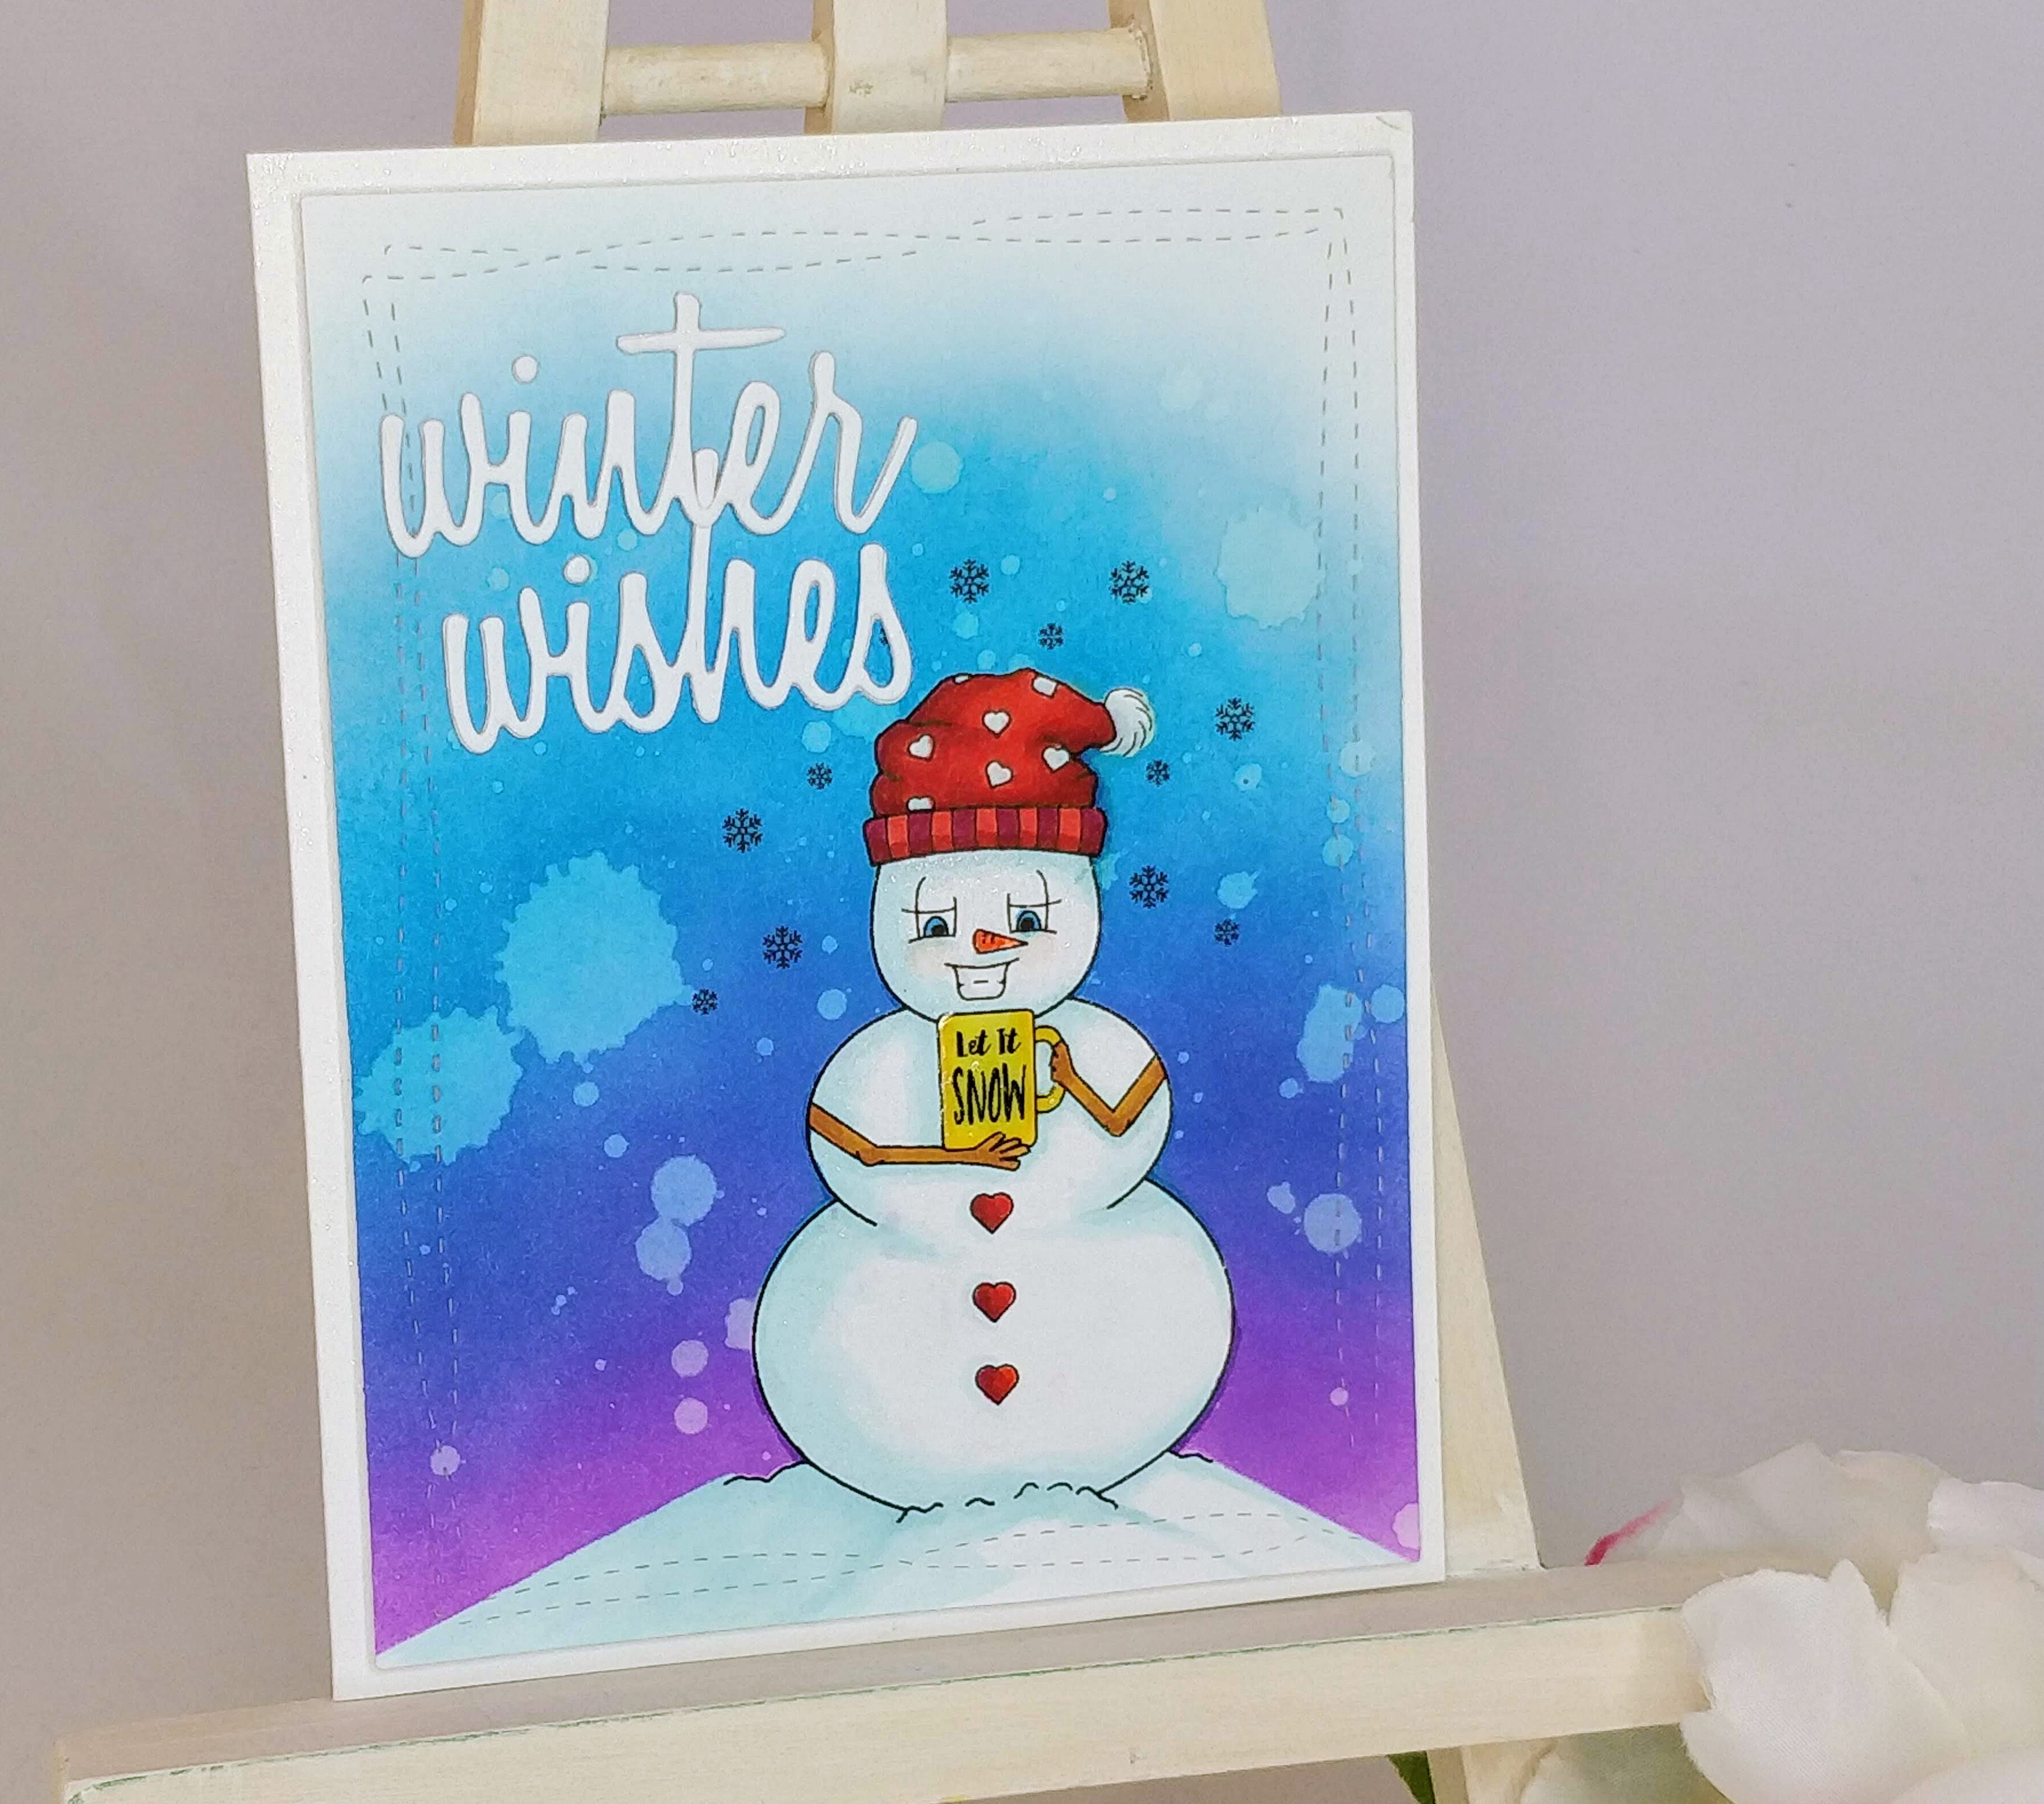
Hi crafty friends! Today I’m sharing another quick and easy holiday card that is really adorable. And with the use of a digi-stamp from Heartcraft Paper, you can easily recreate a whole bunch!
I sized and positioned my cute snowman digi-stamp to take up a good portion of the bottom right side of an A2 size card, then printed four onto lightweight cardstock. I also printed another sheet on regular copy paper to cut out masks. For my masks, I used a pencil to draw the ground under the snowman before I cut them out with my Scan ‘N Cut. Removable adhesive on the back of the masks keeps them in place for inking the background. Now we’re ready to get our fingers dirty!
I used purple and two shades of blue Distress Oxide ink to blend onto the background. I wanted to keep some white space at the top of my card, so I was careful to feather and fade out my lighter blue into the white space. To get the faded spots and add the illusion of snow, I spritzed my card with a little water. Pro tip: remove your mask first or the ink on your mask can bleed through and stain your snowman. Ask me how I know 🙁
Once the background is complete, it’s time to color in the snowman. I used alcohol markers. Since my background has blue, I shaded my little guy with pale aqua colors. Whenever you are coloring something that is supposed to be white, consider using light shades of things surrounding the object for your shadows.
To assemble my card, I used a wonky stitch rectangle die to cut the panel down. This helps cut off any ugly edges that often happens when you are ink blending a background. It also allows some of the card base to show. I popped it up with foam tape onto a white base.
For the sentiment, I die cut each word three times. Because the words have overlapping letters, I glued the first set of words together at the overlap (t and h), then glue the second set of words onto that layer, and then glued the last set of words on top. This way, I have a sandwich of t,h,t,h,t,h, not a thick layer of t trying to overlap a thick layer of h.

To finish the card, I glued the sentiment in the upper left corner. I added Wink of Stella to my snowman and the edges of the card base; not the sentiment because I wanted to bring the focus back to my snowman. I also added a layer of Glossy Accents on the mug. Cute, right?


One thought on “Winter Wishes – Easy Masked Digi-Stamp”